Stop Guessing and Finally Find That Leak
Water stains near a fireplace can be very confusing. The mark might be on the ceiling, a little down the wall, or right over the mantel, and it is hard to tell if the water is coming from a roof leak around the chimney or from the chimney itself. Many homeowners start guessing, patching shingles, smearing caulk, or repainting, only to see the stain come right back after the next big storm.
Getting this wrong can waste time and money. If the problem is misdiagnosed, hidden water can keep running into the same spot. That can lead to soft drywall, mold, rotten wood, and long-term chimney damage.
In this guide, we will walk through a safer, step-by-step DIY hose-test you can use to narrow down where the water is really getting in. We will explain how to prepare, how to run the test one zone at a time, and how to read the results before you bring in a professional. In our Cincinnati, Northern Kentucky, and Southeast Indiana area, early summer is a smart time to track down leaks, before late summer storms and fall rains put your system to the test.
Signs Your Leak Is Near the Chimney, Not Somewhere Else
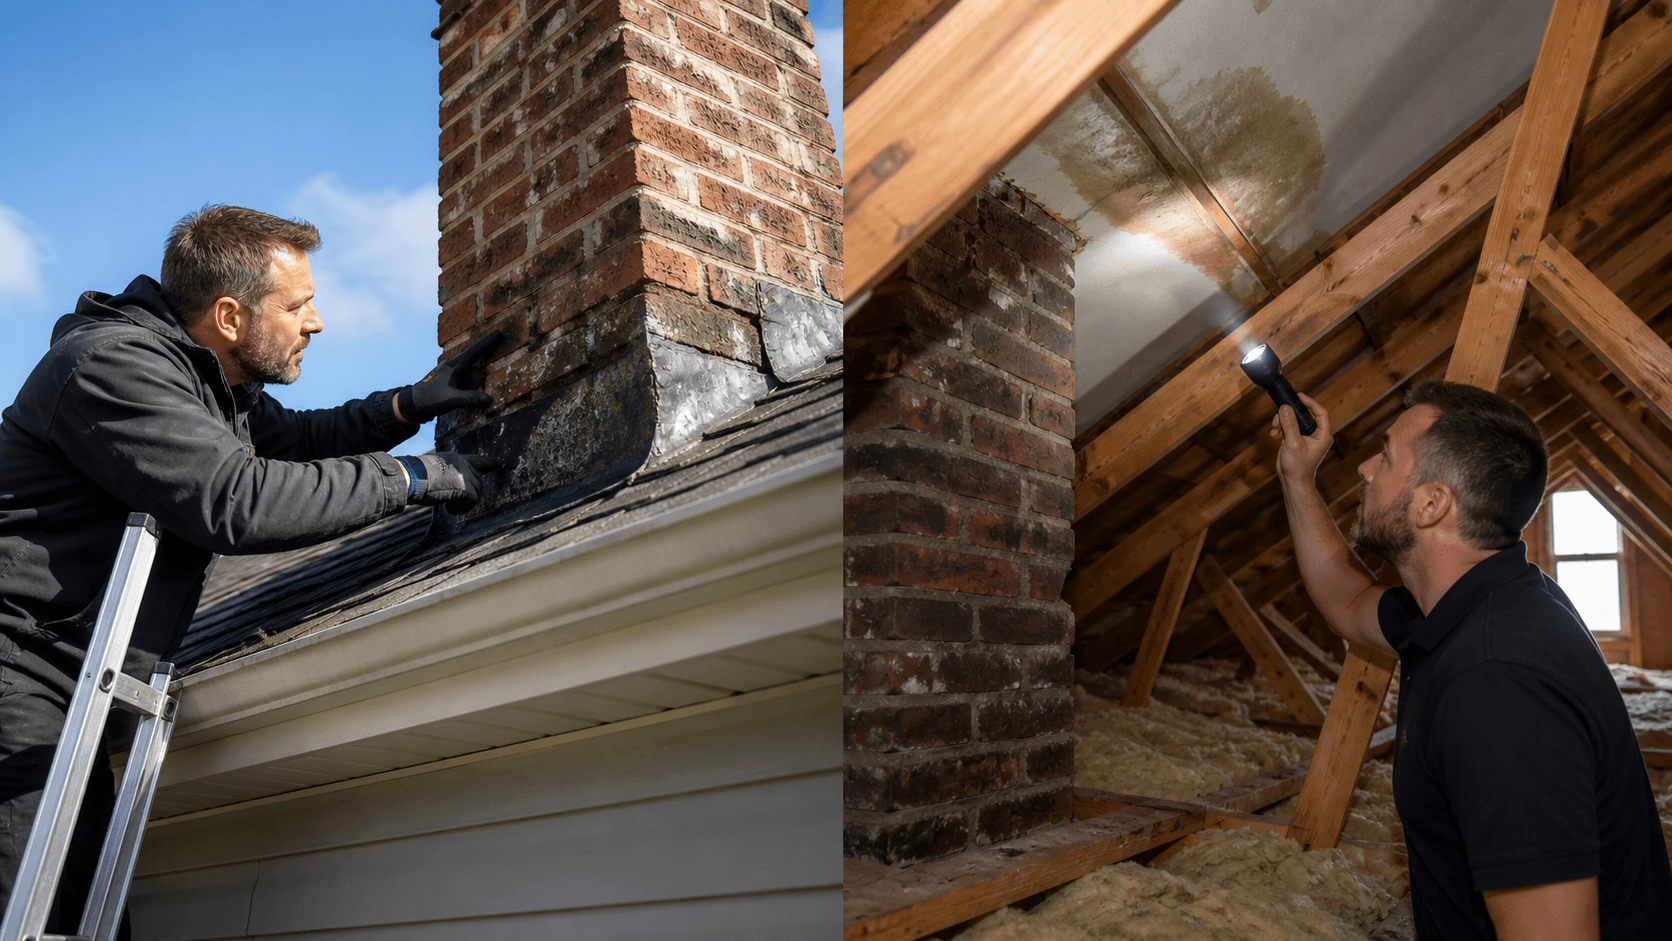
Before you ever touch a ladder or hose, it helps to look closely at the clues inside your home. Water usually leaves a trail if you know where to look.
Common signs that point toward a leak near the chimney area include:
- Brown rings or spots on the ceiling near the fireplace
- Bubbling or peeling paint on the wall above or beside the firebox
- A musty smell when you open the damper
- Damp spots on the chimney breast or the wall that the chimney passes through
- Stains on rafters or sheathing where the chimney passes through the attic
There are also more specific signs that help you guess chimney vs. general roof leak:
- Rust on damper parts or fireplace doors often points to moisture coming down through the chimney system.
- Wet firebox bricks or water sitting on the smoke shelf can mean water is getting in from the top of the chimney, the crown, or the chase cover.
- Water that appears on the framing or brick only where the chimney meets the roof often hints at flashing problems.
- A wide, soft, damp area in the attic, especially far away from the chimney, usually points to a roof problem that is not chimney-related.
- Wet insulation spread out over a larger section of roof deck suggests worn shingles, nail holes, or general roof wear.
Location matters because it helps you focus the hose test on the right zones: shingles, flashing, or the top of the chimney. The more specific you can be when you later talk to a professional, the easier it is to track down the real entry point.
Safety Prep Before You Start the Hose Test
No water stain is worth a trip to the emergency room. Before planning any test, stop and look at the roof itself. If anything makes you nervous, that is a sign to skip the DIY step.
Use basic ladder and roof safety every single time:
- Use a sturdy extension ladder that extends several feet past the roof edge.
- Have a second adult outside to hold the ladder and help manage the hose.
- Wear slip-resistant shoes with good tread.
- Avoid climbing in rain, strong wind, or during extreme heat and humidity, which are common around early July in our area.
Next, protect the inside of your home. The goal of the test is to make the leak show up, but you still want to limit the mess.
You can:
- Lay plastic or drop cloths in the firebox and on the floor around the hearth.
- Move rugs, furniture, and electronics away from the suspected leak area.
- Have a bucket and towels ready if drips appear.
- Keep a flashlight handy for checking the attic or inside the firebox.
There are also times when you should not do this test yourself. Skip DIY and call a pro if:
- Your roof is very steep or more than one story up.
- You have tile or metal roofing that is slick underfoot.
- The chimney looks cracked, loose, or unstable.
- You see signs of serious structural problems, like sagging roof lines or broken rafters.
In those cases, getting a trained technician on-site is the safer path.
Step-by-Step Hose Test to Track the Roof Leak Around the Chimney
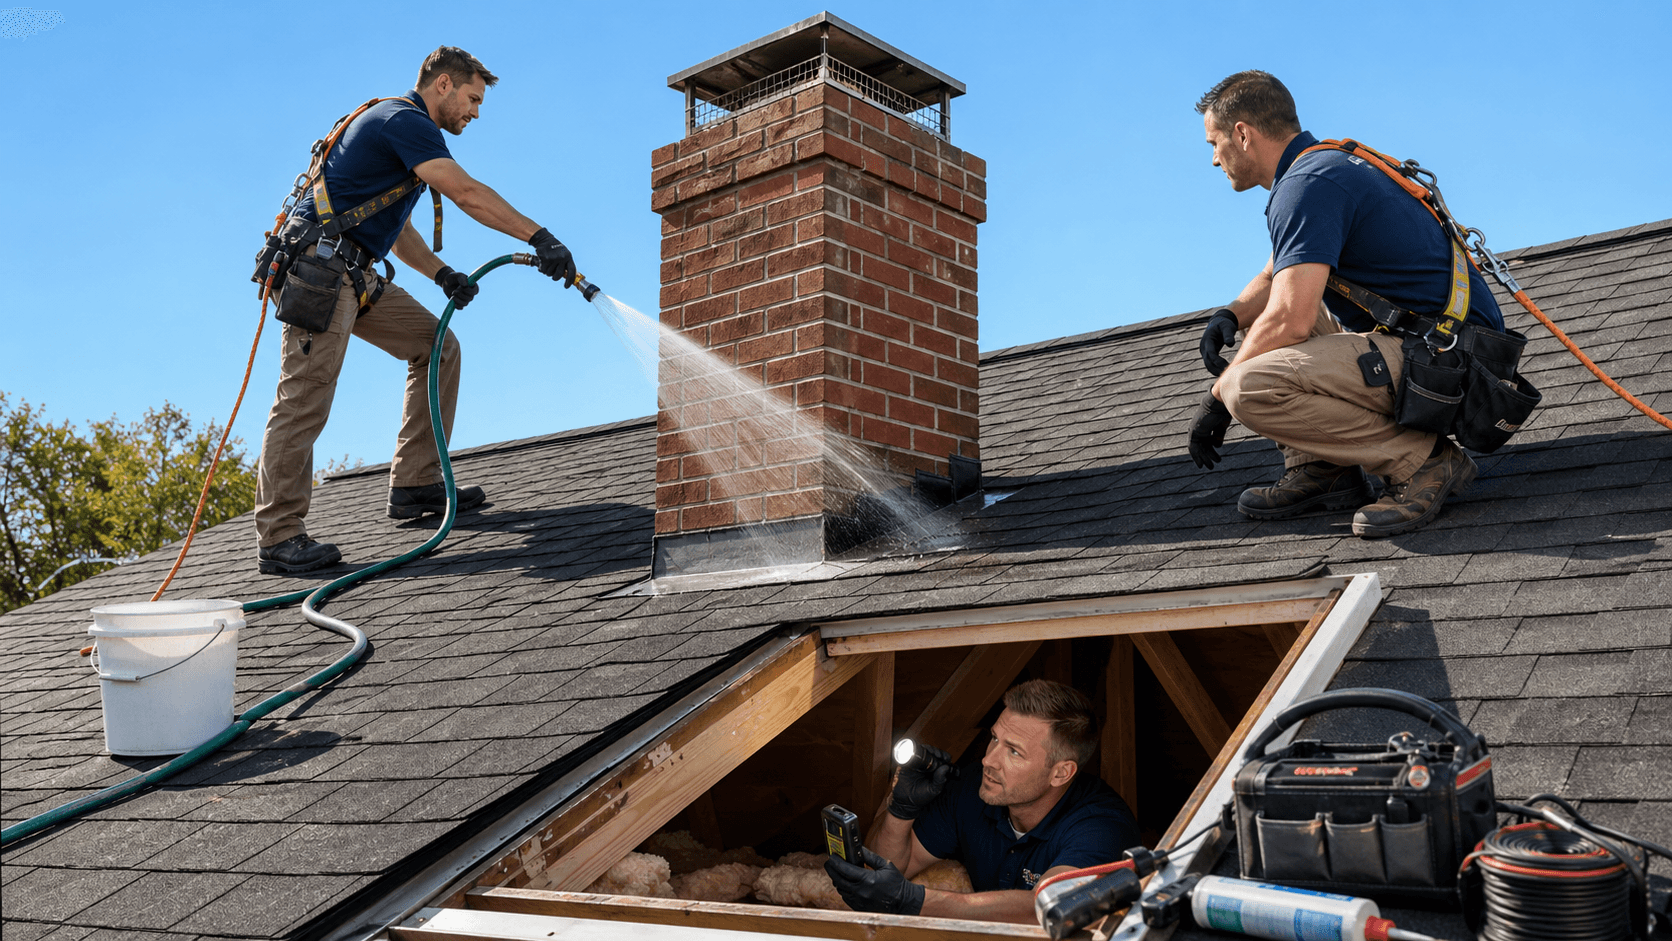
Once you are ready, you will need two people: one on the roof with the hose, one inside watching for leaks and keeping track of time. You want a gentle, steady flow of water from a garden hose, not a pressure washer. High pressure can damage shingles or mortar and might even force water into spots where it normally would not go.
Set the hose to a soft spray and follow this order, moving from low to high:
- Test the shingles just below the chimney
Have the person on the roof run water on the shingles directly below the chimney and in front of it. Keep the spray low, about a foot or two downhill from the chimney base. Let the water run for 5 to 10 minutes while the person inside:
- Watches the ceiling and walls around the fireplace
- Checks the firebox for drips or dark spots
- Notes the exact time any moisture appears
- Test the step and counter flashing on the sides
If nothing showed up in the first phase, shift the water to the sides of the chimney, where the metal step flashing weaves into the shingles. Move slowly along one side at a time, again letting the water run for 5 to 10 minutes on each side before you move on.
- Test the back pan or saddle behind the chimney
Next, aim water at the area uphill from the chimney, where a back pan or saddle directs water around it. This is a common trouble spot because a lot of roof water flows here. Keep this test going for another 5 to 10 minutes while your helper keeps checking inside.
- Test the crown and top of the chimney
Last, test the chimney itself. Wet only the top portion, including:
- The crown on a masonry chimney
- The chase cover on a factory-built chimney
- The upper bricks or siding on the chimney structure
Avoid blasting water directly into the flue opening. Let the spray fall over the top like heavy rain for several minutes and watch again inside and, if possible, in the attic at the chimney chase.
During the whole process, write down:
- Which zone you were testing
- Start and stop times for each phase
- Where and when drips appeared
- Any photos or videos of active leaks
Those notes will be very helpful later, even if the test feels a little slow in the moment.
What Your Hose Test Results Are Really Telling You
Once you have gone through each zone, compare your notes with what you saw and when you saw it.
If water appears only during the first phase, when you are spraying the shingles below or in front of the chimney, that often points to a general roof leak. Common issues can include:
- Worn-out shingles that no longer shed water well
- Nail pops or small holes in the roof deck
- Old underlayment that lets water travel sideways
In that case, the problem is on the main roof surface, not at the chimney itself.
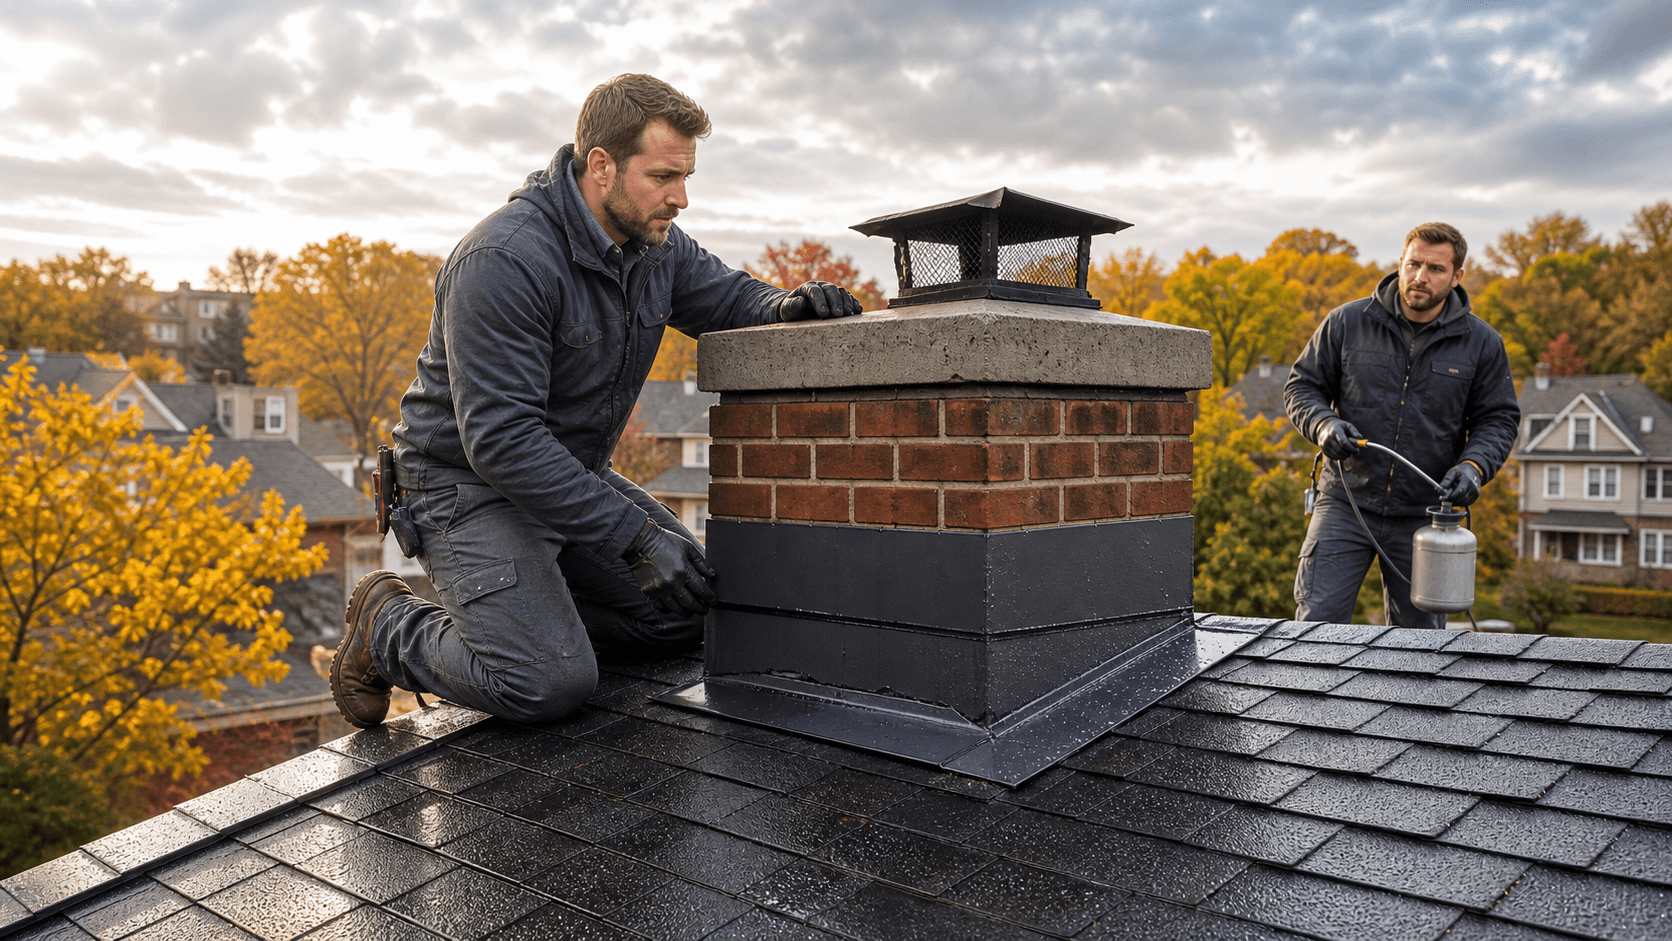
If leaks begin only when you spray the flashing or the area where the roof meets the chimney, you are probably looking at a roof leak around the chimney. Some likely causes are:
- Step or counter flashing that has pulled loose
- Rusted or thin metal in the back pan or saddle
- Sealant that has cracked or separated
- Gaps where the siding or masonry meets the metal
When that happens, water can slide right into the seam and show up inside as a ceiling stain or a leak in the firebox.
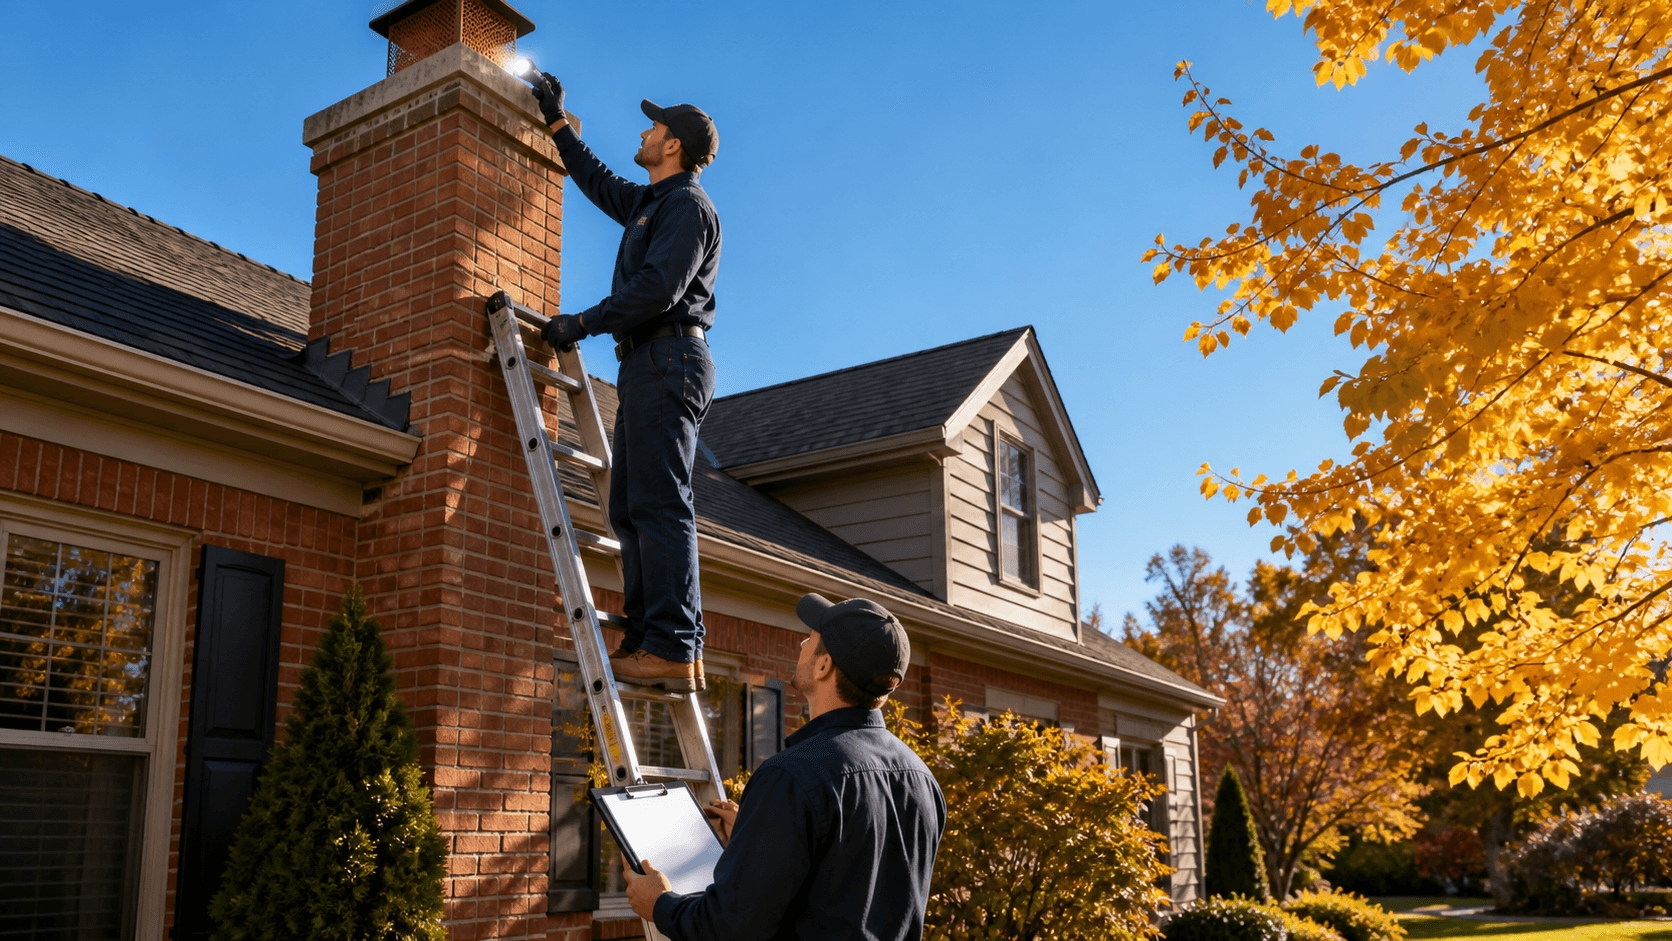
If nothing shows until you wet the crown, chase cover, or upper chimney, then the top of the chimney is the main suspect. That can mean:
- Cracked concrete crown on a masonry chimney
- Rusted, loose, or poorly fitted chase cover on a prefabricated chimney
- Porous or cracked brick and mortar that soak up water
- A missing or damaged chimney cap that lets water go straight down the flue
Water from these problems can travel inside the chimney structure, then leak out where the chimney passes through the roof or ceiling, which is why it so often looks like a roof issue at first glance.
When to Call Chimney Works and What Happens Next
If your hose test produced ongoing leaks, showed masonry damage, revealed rusted firebox or damper parts, or stayed confusing and unclear, it is time to bring in a professional. The same is true if the roof felt unsafe or you decided not to climb at all. Persistent staining after every storm is another strong sign that the problem is more than a simple surface issue.
When a technician from Chimney Works comes to your home, your notes from the DIY test are very helpful. Knowing which zone triggered the leak and how long it took to appear gives us a head start. We can focus straight on the suspect area, then inspect the chimney, flashing, and surrounding roof to confirm what is really going on.
From there, we can talk with you about repair options that fit the actual cause, not just the symptom. In the Cincinnati, Northern Kentucky, and Southeast Indiana region, we help homeowners with chimney inspections, leak diagnosis, chimney repairs, flashing fixes, and new chimney caps so that a roof leak around the chimney does not keep coming back every time the weather turns wet.
Protect Your Home From Costly Chimney Water Damage
If you suspect a roof leak around the chimney, we can inspect the problem, pinpoint the source, and recommend the right repair before it leads to structural damage or mold. At Chimney Works, our technicians focus on long-term solutions that keep water out and protect the integrity of your roof and fireplace system. Reach out through our contact page to schedule an appointment and get your chimney back to safe, dry condition.