Stop Guessing After Storms: Pinpoint That Chimney Leak
Water leaking around a chimney can be sneaky. Many homeowners in our area see a wet ceiling or staining by the fireplace days or even weeks after a big summer thunderstorm and have no idea where it started. The storm passes, the sun comes out, and then later, a brown ring shows up on the ceiling or a damp smell creeps in around the fireplace.
That delay happens because water likes to travel. It can run along wood, brick, metal, and drywall before it finally drips out where you can see it. The actual entry point on the roof or chimney is often in a different spot than the stain inside, which is why guessing at the cause usually leads to the wrong repair.
Most of the time, water leaking around a chimney comes from one of three pathways: bad flashing where the chimney meets the roof, a cracked or damaged chimney crown on top, or issues with siding or wood chimney chases on prefab units. A simple hose or sprayer test, done the right way and in the right order, can separate these sources and give you a clear idea of what you are dealing with before you bring in a pro.
Safety First Before You Test Your Chimney
Before anyone grabs a hose, safety has to come first. Roofs can be slick even when they look dry, and one wrong step can cause serious injury. In our humid Midwest climate, roofs often stay damp longer around shaded or mossy areas.
If you are considering a hose test, make sure you have:
- Completely dry conditions with no rain in the forecast
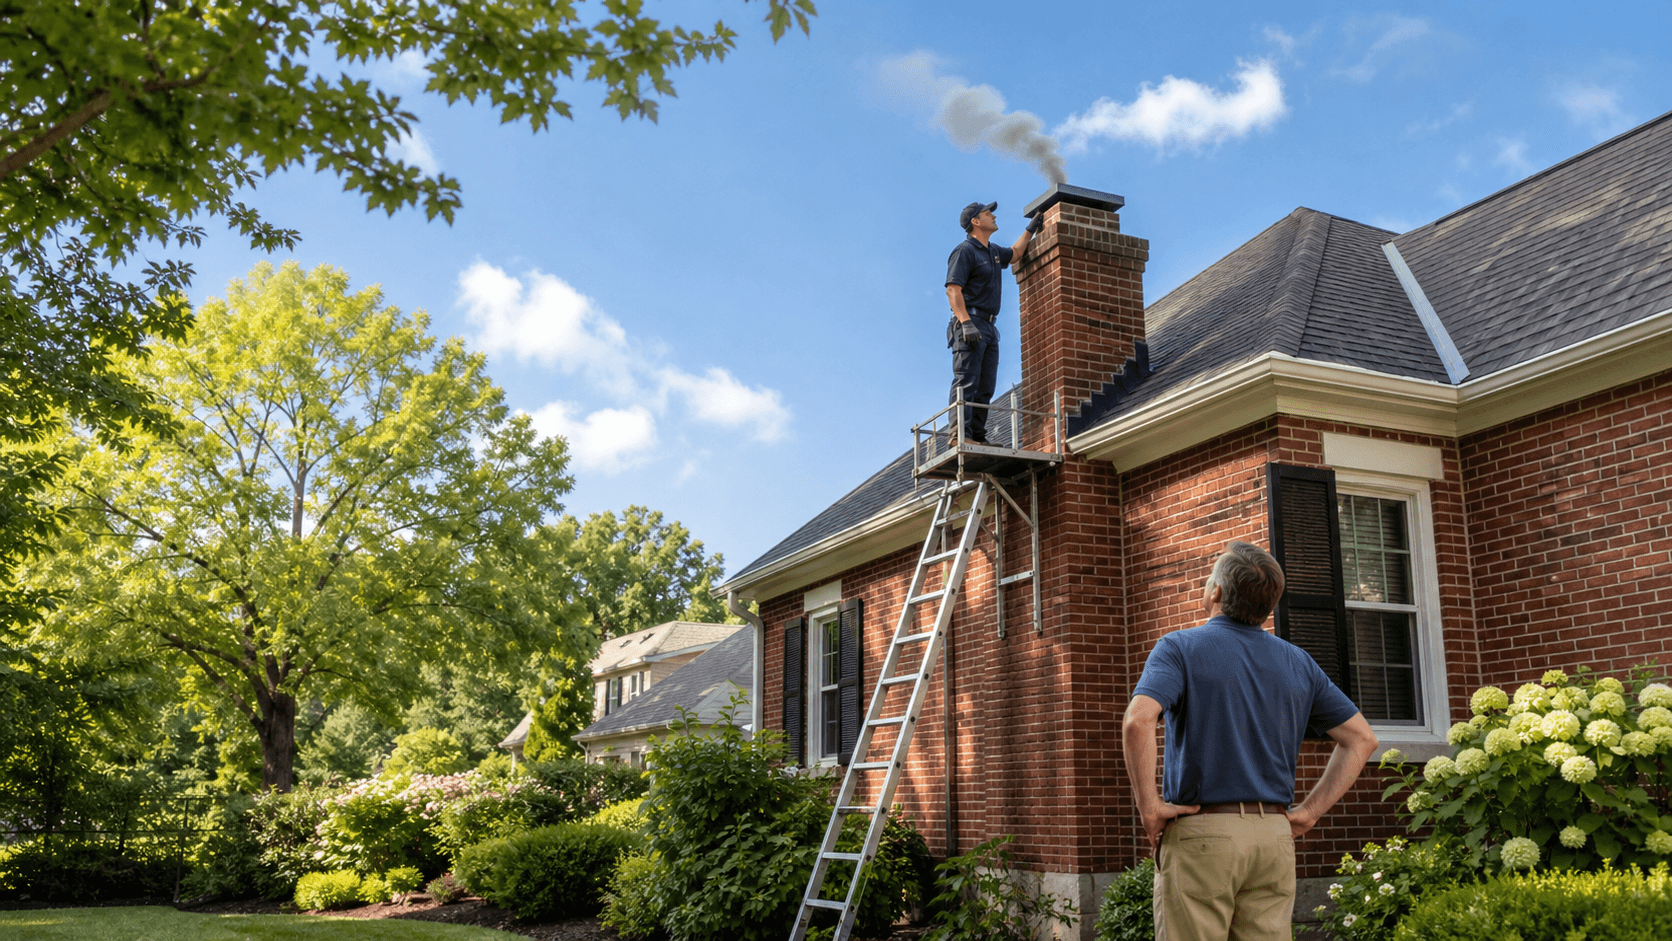
- A solid extension ladder set on level ground and tied off if possible
- Shoes or boots with grippy soles, not flip-flops or smooth sneakers
- A helper on the ground to manage the hose and keep an eye on you
There are many times when this is not a good DIY project, including:
- Steep roofs or multiple roof levels around the chimney
- Very tall chimneys or two-story rooflines
- Loose, curling, or missing shingles near the chimney
- Any fear of heights or unsure footing
If you have heavy water leaking around a chimney, sagging ceiling drywall, or bricks and chase panels that look damaged or shifted after a storm, it is safer to bring in a professional inspection instead of going up there yourself.
Storm Prep: Document Damage and Control Interior Leaks
Right after a storm, start with what you can safely see from the ground. Walk around your home and look up at the chimney and roof area. You are not trying to diagnose the whole problem, just collecting clues.
From the ground, scan for:
- Missing or lifted shingles near the chimney
- Bent, rusted, or clearly separated flashing metal
- A broken or crooked chimney cap
- Cracked siding or loose trim on a wood chase
- Rust streaks running down a metal chase cover
Inside, look for fresh wet spots on ceilings, walls, or around your fireplace. Take clear photos and make simple notes about when you first saw each spot. This helps later, both for insurance and for any chimney or roofing technician who comes to inspect.
While you are sorting things out, try to control where the water goes. You can:
- Place buckets or pans under active drips
- Tape plastic sheeting to funnel water away from walls
- Move furniture and rugs away from damp areas
- Unplug or move electronics near any leak
These steps will not fix the cause, but they help limit damage until a proper repair is planned.
Step One: Hose-Testing the Chimney Crown and Cap
The chimney crown is the concrete or mortar slab that sits on top of a masonry chimney, around the flue tile. Its job is to shed water away from the bricks. When it cracks or pulls away from the flue, water can run straight down inside the chimney structure. On prefab systems, you may have a metal chase cover serving a similar purpose.
To test this area with a hose, move slowly and keep the spray gentle. High pressure is not your friend here.
Here is a simple process:
- Have your helper stay inside near the known leak area, with towels and a flashlight.
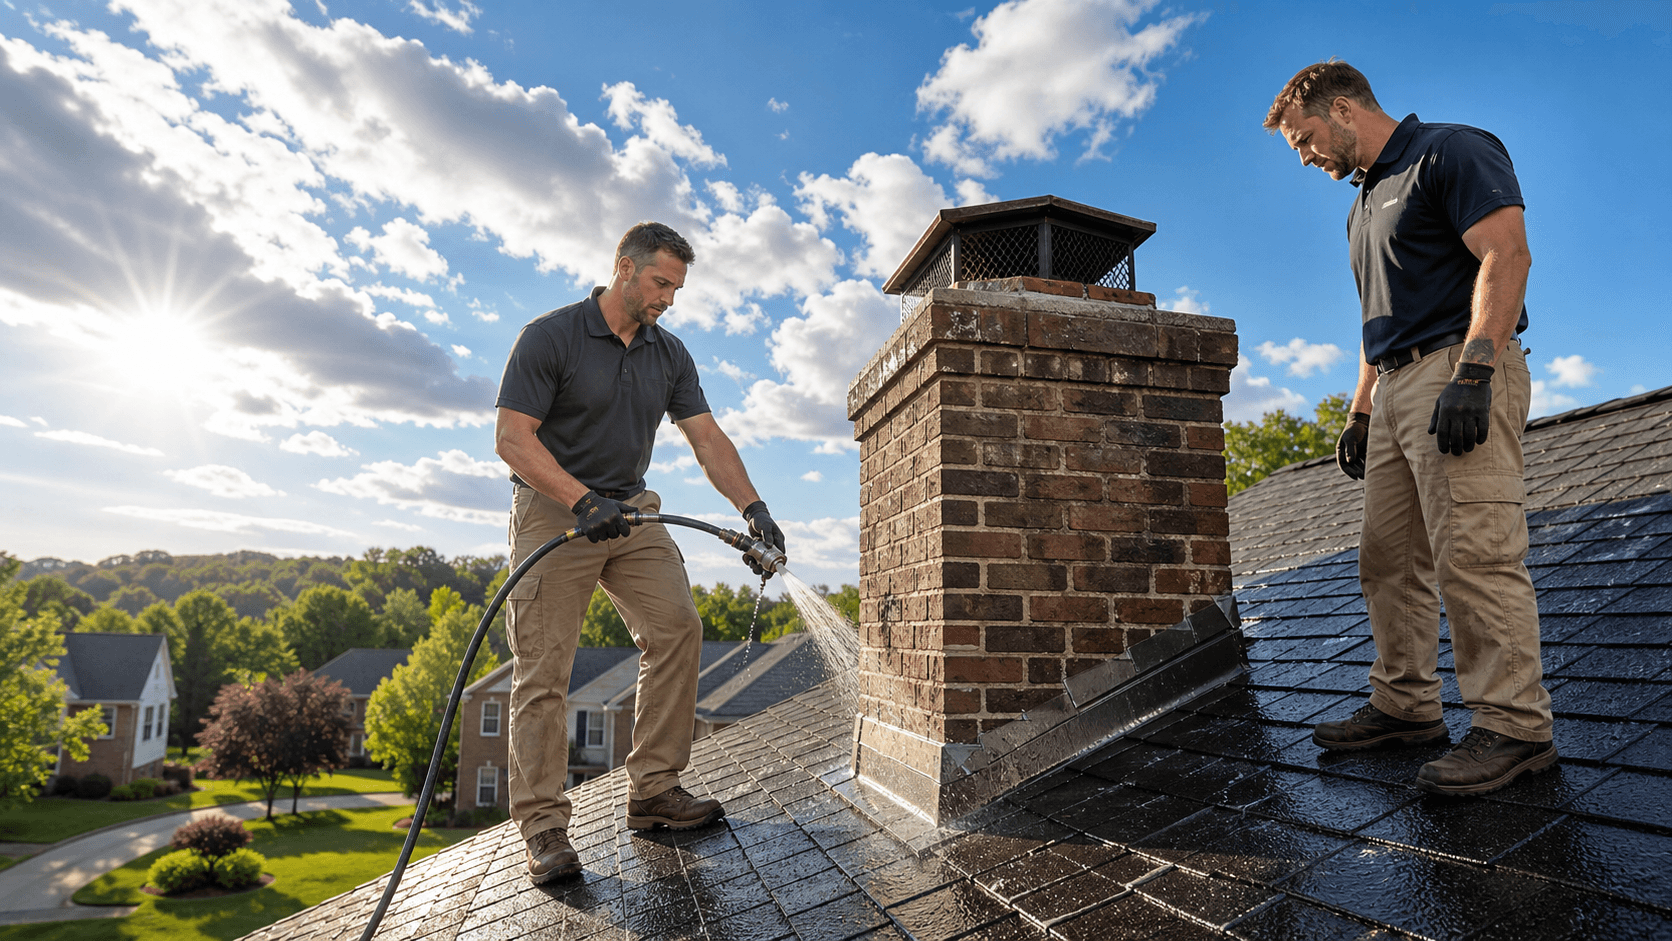
- Take the hose to the roof and adjust it to a soft, steady stream, not a jet.
- Spray only the very top: the crown and cap or the chase cover, for about 10 to 15 minutes.
- Keep the water where it would normally fall during rain; do not force it sideways into gaps.
If new drips or damp spots appear inside during this step, you likely have a crown, cap, or flue-related leak. If nothing changes, you can move on to the flashing area knowing the top is less likely to be the main culprit.
Step Two: Isolating Flashing Leaks Around the Chimney Base
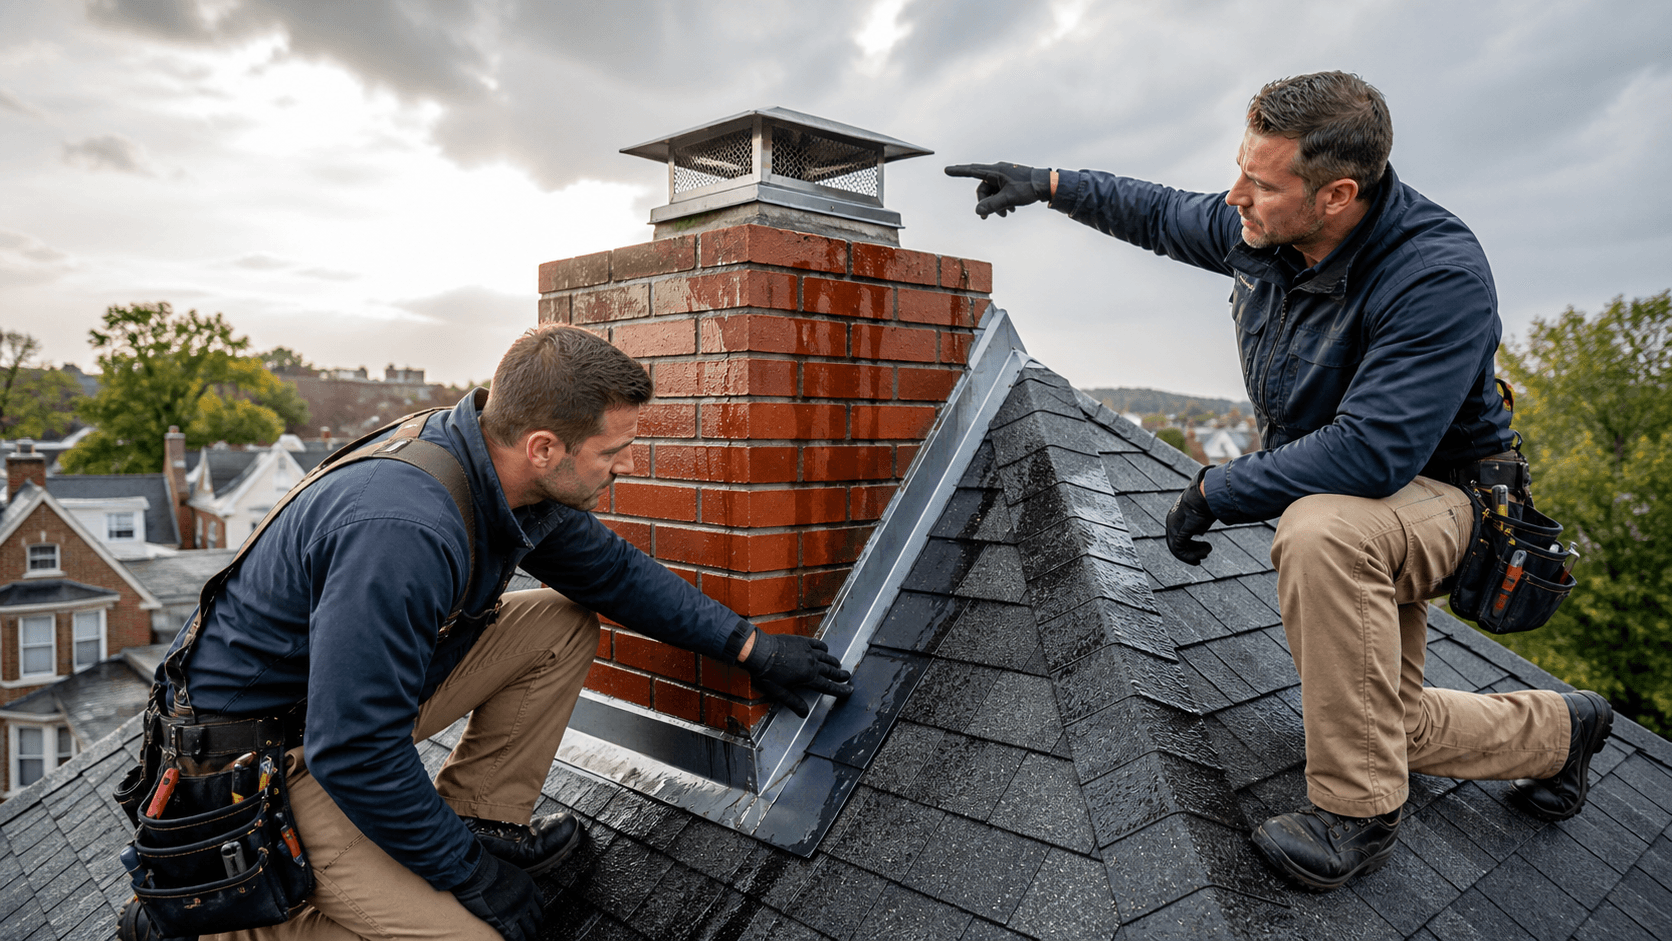
Flashing is the metal that seals the joint where the chimney meets the roof. There is usually base flashing that tucks under shingles and counterflashing that overlaps it on the chimney side. In hard summer rains with gusty winds, water can be pushed under loose, rusted, or poorly sealed flashing and into the house.
To test for flashing leaks, you want to work from the bottom up:
- Have your helper back in place inside to watch carefully.
- Start with the hose at the lowest course of shingles below the chimney. Let water run gently there for 10 minutes.
- Slowly move the spray up each shingle row toward the chimney, staying a few minutes at each level.
- When you reach the flashing line, keep the hose focused right at that joint, still at low pressure.
Watch for a pattern:
- If leaks start only when water reaches the flashing area, there is a strong chance the flashing or nearby shingles are the main problem.
- If you still see no water, the leak might be higher on the structure, such as siding or chase areas on prefab units.
Again, this test gives you clues; it does not replace a full inspection, but it helps separate roof-to-chimney leaks from other issues.
Step Three: Checking Siding and Chimney Chases for Leaks
Prefab fireplaces often sit inside framed wood chases that extend up through the roof. These chases are covered with siding and topped with a metal chase cover. Wind-driven rain can find its way in through cracked siding, warped trim, failed caulk, loose chase covers, or gaps where the chase meets the roofing.
A careful hose test here should be broken into sections:
- Test the chase cover first by gently soaking only the very top for 10 to 15 minutes.
- Then move to vertical siding seams on one side of the chase, starting low and moving higher.
- After that, focus on trim joints and corners where boards meet.
- Finally, test the area where the chase meets the roof, separate from the main chimney base if possible.
How can you tell a siding or chase leak from a flashing leak?
- Siding or chase leaks often show up as damp walls, staining higher up on the chase, or moisture around the fireplace face.
- Flashing leaks more often show at ceiling level or along the roofline near the chimney.
This difference in where the water appears inside is a big clue for any technician who will plan the final repair.
What Your Results Mean and When to Call Chimney Works
Once you finish the hose test steps and compare them with what you saw during the actual storm, you usually end up with one or two strong suspects.
Your findings might point toward:
- Crown repair, resurfacing, or sealing if the top test brought water in
- New or repaired flashing and counterflashing if leaks started at the roofline
- Chase cover replacement or resealing if water showed up when the top metal was sprayed
- Siding or trim repairs and full chimney waterproofing if walls around the chimney got damp during siding tests
Even with careful testing, it is still easy to miss hidden damage. Water that sneaks in around a chimney can soak insulation, wood framing, and masonry where you cannot see it. That can lead to rot, mold, or problems with the fireplace system itself.
A professional chimney inspection after a storm helps confirm what the hose test suggested, and it lets a trained eye check the full system from top to bottom. At Chimney Works, we help homeowners across Greater Cincinnati, Northern Kentucky, Southeast Indiana, and the Dayton area sort out these leaks, understand their options, and get repairs in place so the next round of rain stays outside where it belongs.
Protect Your Home With Expert Chimney Leak Repairs
If you are noticing water leaking around a chimney, we can inspect the issue, identify the source, and provide long-lasting repairs before it leads to bigger problems. At Chimney Works SEO, our team focuses on safe, code-compliant solutions tailored to your home. Let us help you stop the damage early and restore your peace of mind. Reach out today to schedule service or ask questions through our contact page.