Stop Roof Leaks Before Fall with Better Chimney Flashing
Chimney flashing repair is one of the most important things you can do to keep water out of your home. When the seal between your chimney and roof fails, leaks can show up as stains on ceilings, peeling paint, or even soft, rotted wood around the fireplace and attic.
Late summer around Greater Cincinnati, Northern Kentucky, Southeast Indiana, and the Dayton area is a smart time to fix chimney flashing, before long fall rains and winter snow show up. In this article, we will explain how chimney flashing works, the differences between step flashing, counterflashing, and reglet cut flashing, and which options usually last longer so you can make better choices for your home.
How Chimney Flashing Actually Keeps Water Out
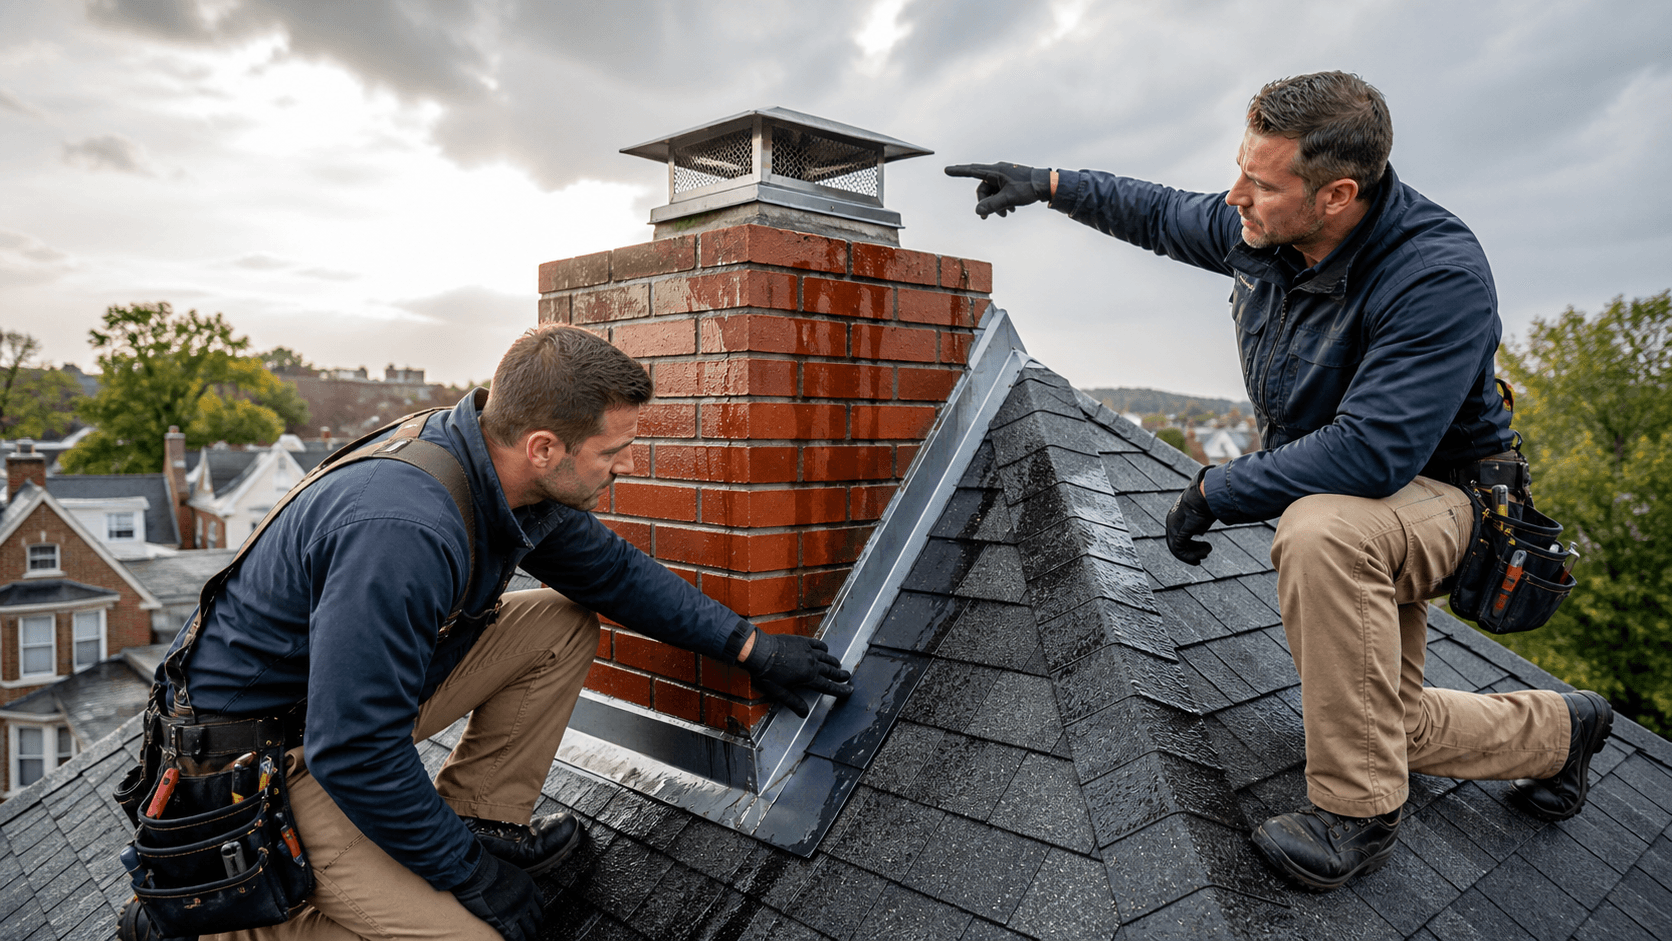
Chimney flashing is a layered system of metal and sealants that bridges the gap where your chimney meets the roof. Roof shingles shed water down the slope, and the flashing guides that water around the chimney and back onto the shingles instead of letting it sneak into your house.
On homes in our area, we often see water find its way in through:
- Small gaps where the brick or stone meets the roof
- Cracked or missing mortar joints on brick chimneys
- Loose siding or trim around a framed chimney or chase
- Areas where old flashing has rusted, pulled loose, or was never installed correctly
Local weather is hard on chimney flashing. Freeze and thaw cycles open up tiny cracks in mortar and sealants. Strong storms coming up the Ohio River valley drive rain sideways, pushing water into weak spots. Ice dams along the roof edge can back water up so it sits around the chimney for hours at a time. All of these stress points shorten the life of poor or aging flashing and turn small gaps into active leaks.
Step Flashing Basics, What Works and What Fails
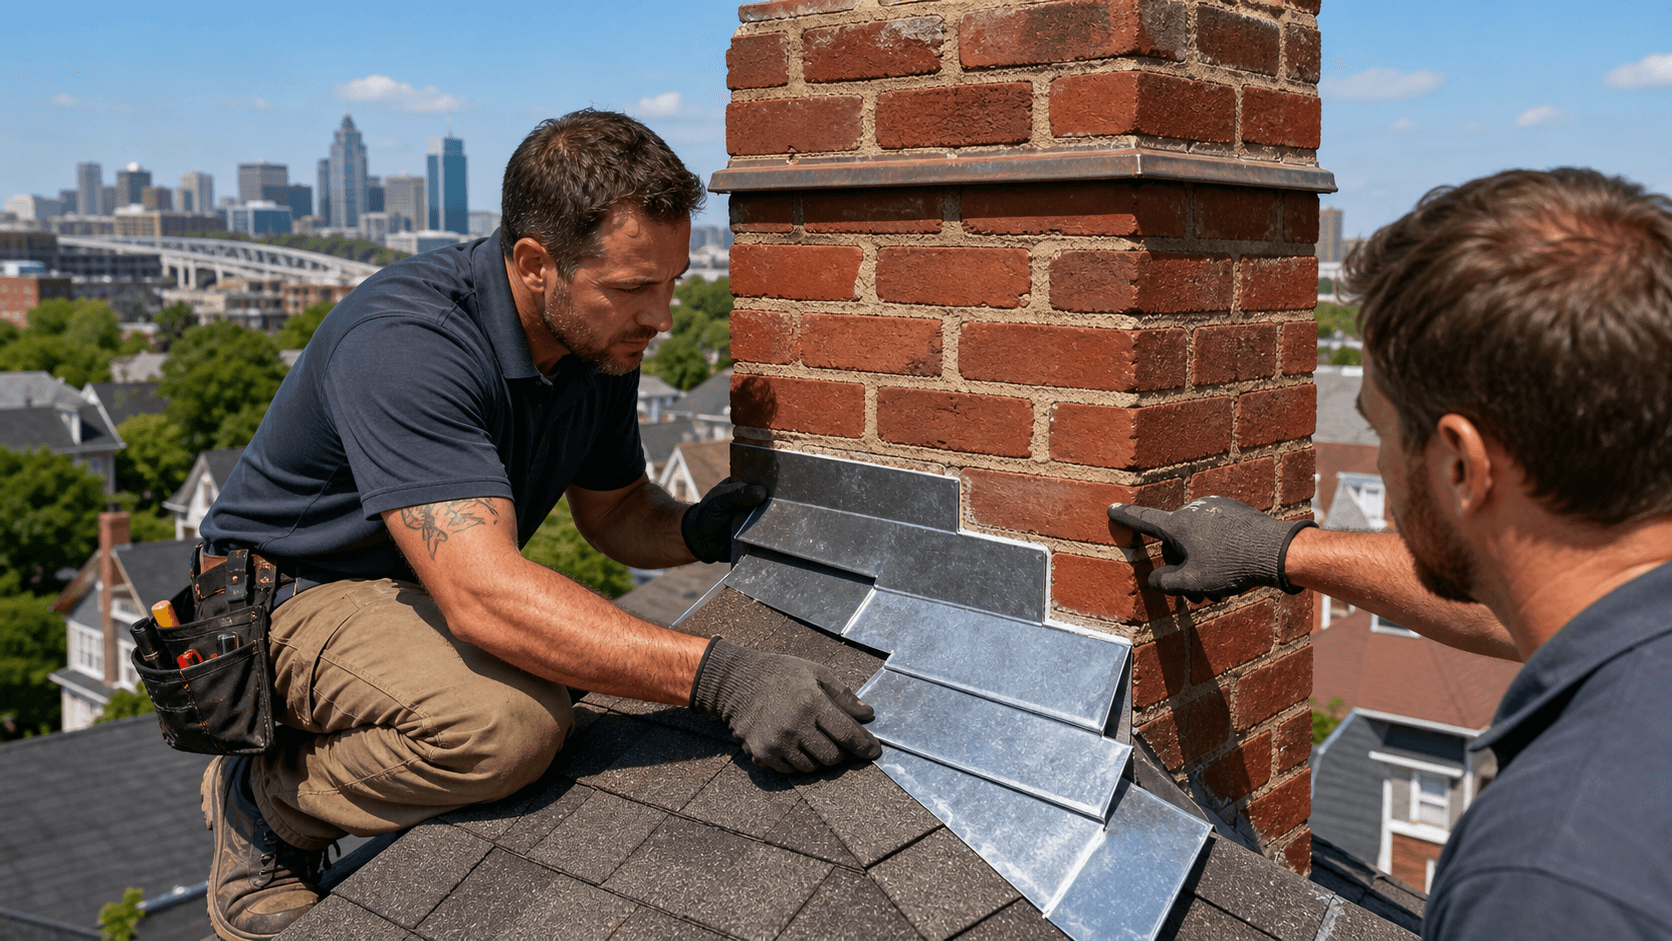
Step flashing is the base layer that runs along the sides of your chimney where it meets the roof. It is made up of many small L-shaped metal pieces installed like shingles, one piece per shingle course, so water always lands on top of the next piece and keeps flowing down the roof.
For step flashing to last, several details have to be right:
- The metal should be a durable type and thickness meant for roofing, not thin or flimsy stock
- Each piece needs enough overlap with the shingle above and the one below
- Flashing pieces should be nailed into the roof deck, not into the chimney itself
- Shingles must cover the vertical leg of each piece so water cannot get behind it
When those basics are ignored, problems start. Common failure points we see include:
- Reusing old, rusted, or worn step flashing during a roof replacement instead of installing new pieces
- Using long "cheater" pieces to save time, which reduces overlap and makes it easier for water to slip in
- Packing roofing cement into gaps and then relying on that tar instead of proper layered metal
Tar and caulk can help seal small joints, but they should never be the main line of defense. When step flashing is done correctly, it quietly does its job for years with little attention. When it is rushed or pieced together, leaks can show up quickly, especially after a few strong storms.
Counterflashing and Reglet Cuts for Long-Term Protection
If step flashing is the base, counterflashing is the cover. Counterflashing is the visible metal on the chimney that overlaps the top edge of the step or base flashing. Its job is to keep water from getting behind that lower layer and to create a drip edge that pushes water away from the chimney surface.
There are two main styles on brick and stone chimneys:
- Surface-mounted counterflashing, where the metal is attached to the face of the chimney and sealed along the top edge
- Reglet cut, also called saw cut, where a small groove is cut into a mortar joint and the flashing is locked into that cut
Both styles can work, but reglet cut counterflashing usually lasts longer on masonry chimneys. By tucking the metal into the mortar joint, the top edge is held in place by the brick and mortar instead of glue alone. This creates a natural drip edge and protects the main seal from direct sun and wind.
Full counterflashing is important because it:
- Shields hidden sealants from UV light so they do not dry out as fast
- Sheds water down and away from the wall of the chimney
- Allows roofers to replace shingles and step flashing in the future without tearing into the chimney exterior again
Without proper counterflashing, even good step flashing is exposed and more likely to fail early.
Quick Fixes That Fail and Costly Chimney Flashing Mistakes
When water shows up inside, it is tempting to look for a fast patch. We often find "Band-Aid" chimney flashing repairs during inspections, such as:
- Thick beads of caulk smeared over brick joints or along the top of old flashing
- Blobs of roofing tar bridging gaps between the chimney and shingles
- Thin metal strips simply screwed into mortar with no proper overlap
- Painted coatings brushed over cracked flashing as a shortcut
These shortcuts usually look okay from the yard, but they rarely hold up to real weather. Under heavy Cincinnati-area thunderstorms, snow loads sitting around the chimney, and wide spring temperature swings, those surface patches crack, peel, or pull away. The leak might pause for a short time, then show up again, often in a different spot.
The bigger problem is hidden damage. When proper chimney flashing repair is delayed, water can slowly soak:
- Roof sheathing and rafters around the chimney
- Insulation in the attic or wall cavities
- Drywall, plaster, and paint near ceilings and fireplace walls
By the time stains appear inside, water may have been present for quite a while. Fixing rotten wood and moldy insulation often costs far more than doing chimney flashing the right way from the start.
Choosing the Right Flashing Repair for Your Home
A good chimney flashing repair starts with a careful look at the whole system, not just the most obvious crack. When we evaluate a chimney, we check:
- Age and condition of the roof around the chimney
- Type of chimney construction, brick, stone, block, or prefab chase
- Current leak signs inside the home and in the attic
- Local building code requirements for the area and roof slope
Sometimes a small, targeted repair makes sense, like replacing a few damaged step flashing pieces on a fairly new roof that was flashed correctly the first time. In other cases, the smarter plan is a full tear-off and replacement of step flashing and counterflashing, especially when:
- The roof is older or has been layered with multiple shingle roofs
- The existing flashing was never done right or is badly corroded
- There is clear, ongoing water damage inside or in the attic
Chimneys can be tricky, especially brick, stone, or factory-built fireplace systems with metal chases. That is why it is important to have a chimney and masonry specialist handle the flashing, not just treat it as a simple roofing detail. A team that understands both the fireplace and the roof can match the right combination of step flashing, counterflashing, and reglet cuts to your specific chimney so the repair lasts through many seasons of Ohio Valley weather.
Protect Your Home With Expert Chimney Flashing Repair Today
If you are seeing leaks or water stains around your chimney, now is the time to schedule professional chimney flashing repair with Chimney Works SEO. Our experienced team will inspect your system, explain what we find in clear terms, and complete only the work you truly need. To request an appointment or ask a question, simply contact us and we will follow up promptly.