Stop the Drips Before Fall: Find Hidden Chimney Leaks
Water leaking around a chimney is not something to shrug off. Even a slow drip can turn into damaged drywall, stained ceilings, and mold hiding inside your walls. By the time you see a brown ring on the ceiling, the water has usually been at work for a while.
Late summer is a great time for homeowners in the Cincinnati, Northern Kentucky, Southeast Indiana, and Dayton areas to track down trouble before the cooler, wetter months hit. In this guide, we will walk through a simple, homeowner friendly way to use a basic moisture meter and an affordable thermal camera to narrow down where that water is getting in, and we will be clear about when it is time to stop and call a professional chimney company like ours.
How Chimney Leaks Travel and Fool Homeowners
One of the hardest parts of dealing with water leaking around a chimney is that the spot you see inside is often not the spot where the water entered. Water loves to wander. It can:
- Run along roof decking and rafters
- Travel down framing and nails
- Follow tiny gaps in masonry joints
- Soak sideways through insulation and drywall
By the time it shows up as a stain or drip, it may be several feet away from the true entry point.
Common chimney leak entry points include:
- Cracked or deteriorated chimney crown on top of the masonry
- Missing, loose, or damaged chimney cap
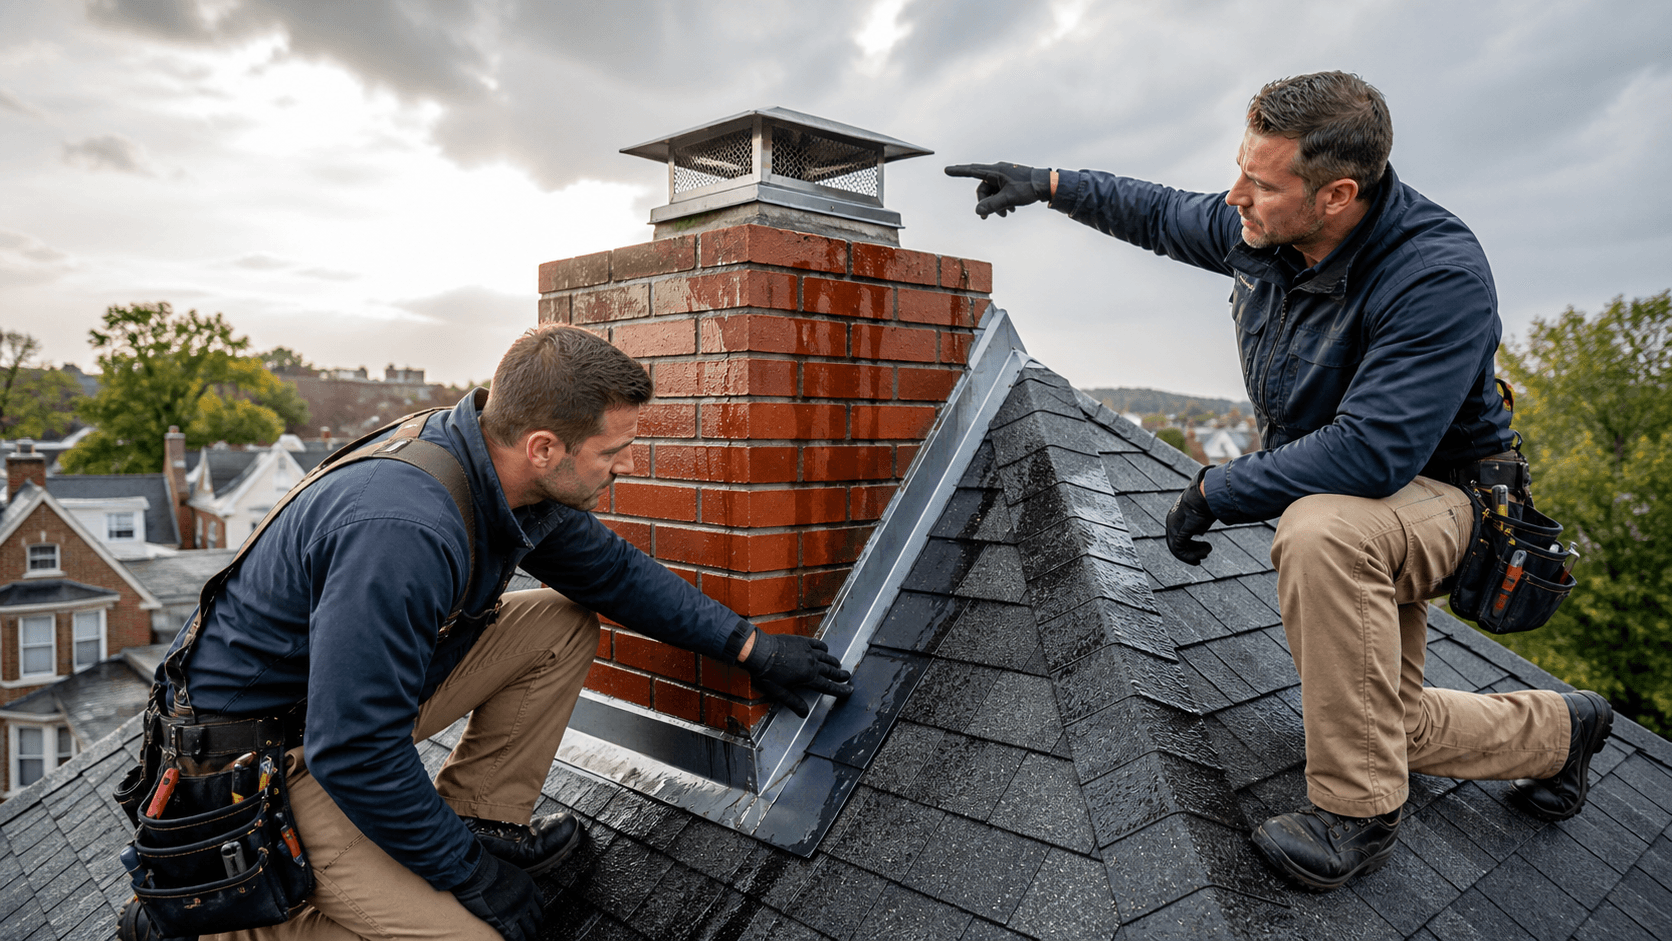
- Failing metal flashing where the chimney meets the roof
- Porous bricks and mortar joints that soak up water like a sponge
- Damaged or misaligned flue liners
- Roof problems right next to the chimney, such as lifted shingles or nail pops
Around here, we see a lot of wind-driven storms, heavy summer downpours, and plenty of freeze-thaw cycles. Water gets pushed sideways, not just straight down, and small cracks can open and close as temperatures swing. What starts as a tiny opening in summer can become a steady leak once fall rains and winter snow show up.
Setting up a Safe, DIY Leak Inspection
Before anything else, safety comes first. Roofs and ladders are risky, especially if:
- The roof is steep or high
- The surface is wet, mossy, or covered in leaves
- You do not have the right shoes or ladder, and you are not used to working at heights
In those cases, it is better to stay on the ground and inside your home and leave roof walking to trained techs with proper gear.
From the ground and inside, you can safely look for:
- Ceiling stains near the chimney or around the fireplace wall
- Peeling paint, bubbling drywall, or warped trim
- Rust on the damper, firebox, or fireplace doors
- Musty odors near the fireplace, especially after rain
- In the attic, dark or wet roof decking and framing near the chimney chase
Helpful tools for a basic inspection include:
- An entry-level pin or pinless moisture meter
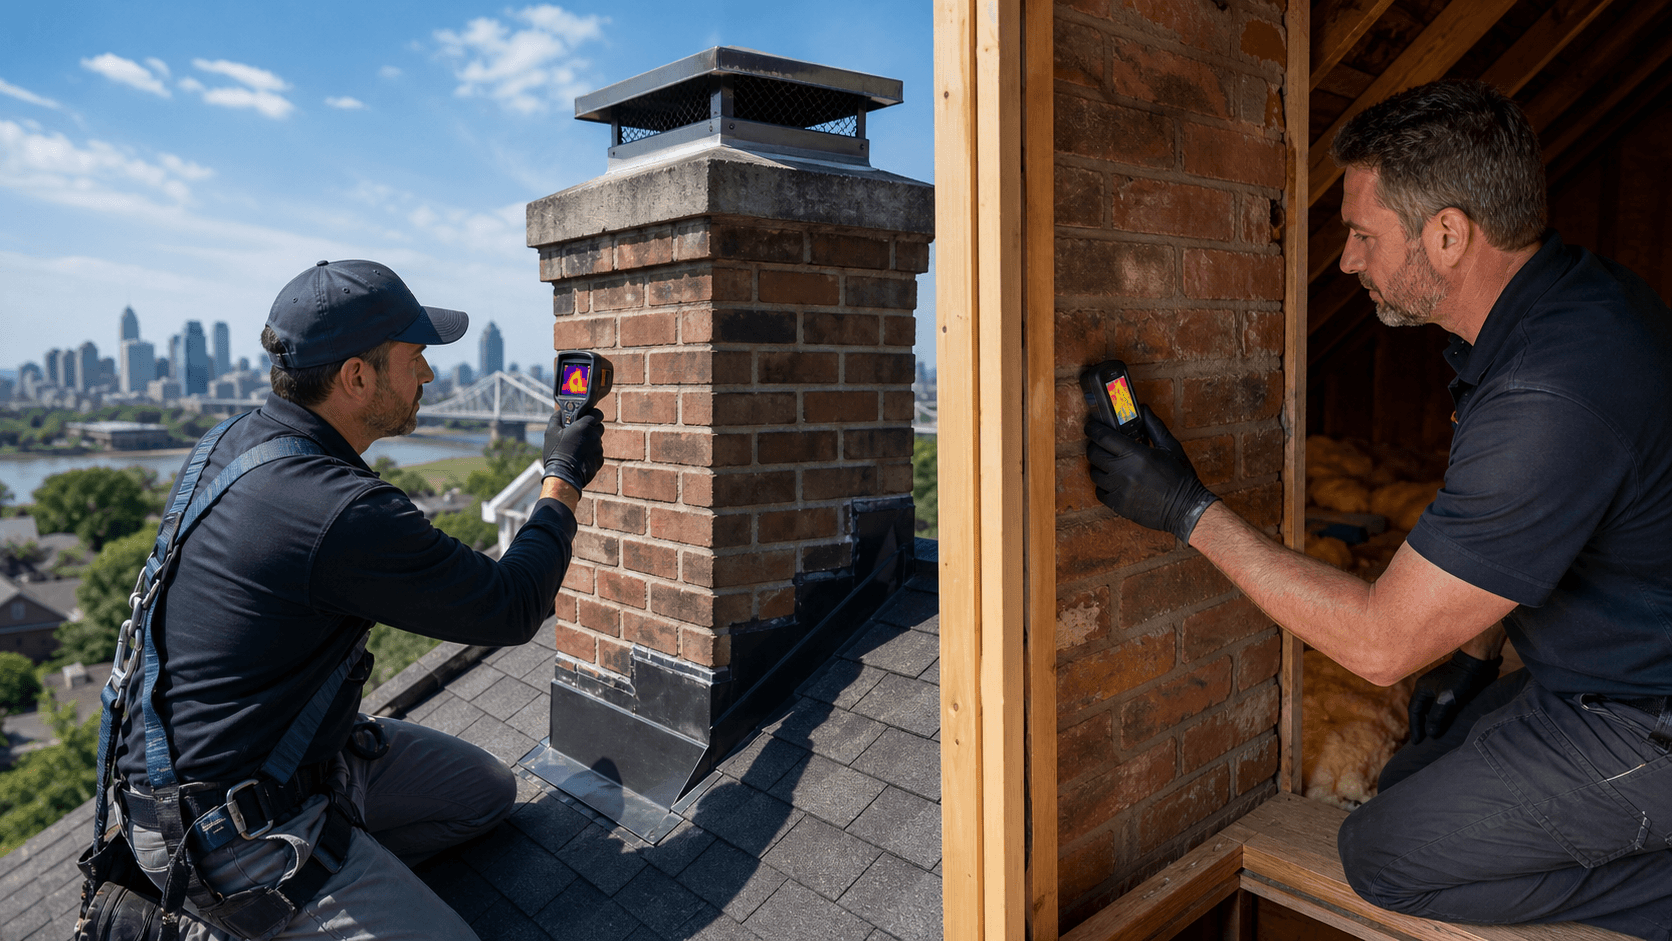
- A smartphone-compatible thermal camera
- A bright flashlight or headlamp
- A camera or phone to record what you see
- Painter's tape and a notepad to mark and label areas
You will get the best information if you check shortly after a good rain. If the weather is dry and safe, and you are comfortable doing so from the ground, a gentle hose test on the roof area above the chimney can sometimes help, but avoid any roof work that feels unsafe or shaky.
Step-by-Step Moisture Meter Checks Around the Chimney
A moisture meter is your early warning system. To get useful readings, start by creating a "dry baseline."
- Test areas that should be dry, away from the chimney.
- Interior walls in the same room that show no stains
- Ceiling areas far from the chimney chase
- Note the normal range of readings for those dry spots. This gives you something to compare against when you move closer to the chimney.
Next, work your way toward known or suspected leak areas:
- Ceiling around the chimney chase or near any visible stain
- Upper corners of the room, especially above the fireplace
- Walls right above and beside the fireplace opening
- Trim, baseboards, and flooring near the hearth
- In the attic, roof decking, rafters, and any framing that touches the chimney or chase
As you go, map what you find:
- Mark damp or high-reading spots with painter's tape
- Write the reading and date right on the tape or in your notebook
- Note if readings get higher as you move closer to the chimney line or if they spread out like a fan
If the highest readings line up in a path that points back to the chimney instead of a wide area of the roof, that is a strong clue that the leak is tied to the chimney system and not just a general roof problem.
Using a Thermal Camera to Trace Hidden Moisture Paths
Thermal cameras do not "see water"; they see temperature differences. Wet materials often cool down faster than dry ones, so they tend to show up as cooler colors in the image. This makes them very handy for showing how moisture spreads from a leak.
Right after a rain, do a slow scan:
- Across the ceiling near the chimney and any stained areas
- Along walls that share a side with the chimney chase
- Above and around the fireplace opening
In the attic, carefully scan:
- Roof decking above and beside the chimney
- Insulation that sits against the chimney chase
- Framing members that run away from the chimney area
When you look at the images, pay attention to:
- Cool streaks that follow framing or run down a wall from a higher point
- Irregular cool spots in an otherwise warm ceiling
- "Ghosting" outlines where studs or rafters show up cooler because water is traveling along them
If those cool paths line up with higher moisture meter readings and all seem to track back toward the chimney, that points toward a chimney-related leak instead of an HVAC line, plumbing, or something else.
Connecting the Dots to Common Chimney Leak Sources
Now it is time to match what you found indoors to what might be happening at the chimney itself. Different leak sources tend to show patterns:
- Crown problems at the very top often lead to stains on upper ceilings or down through the chase, sometimes appearing in an upstairs room first.
- Flashing leaks at the roofline often show as staining or wet decking right where the chimney meets the roof, plus ceiling issues below that intersection.
- Porous masonry can create wide, damp areas, musty smells near the fireplace, and flakes or crumbling mortar outside.
- Issues deeper in the flue or chase can send water down inside the structure, sometimes showing up as rust in the firebox or on the damper.
From the ground or attic, you might notice:
- Rusted metal parts around the fireplace
- Crumbling mortar joints or loose bricks high on the stack
- Hairline cracks or missing pieces on the chimney crown
- Dark, stained roof decking directly beside the chimney
Even with good tools, there are limits to what DIY checks can confirm. Hidden liner cracks, internal chase leaks, and some top-side crown or cap problems usually need professional tools like chimney cameras, on-roof inspection, and more detailed testing.
When to Put the Tools Down and Call a Pro
There are clear signs that it is time to stop your own inspection and call in help. Do not keep poking around if you see:
- Standing water in the firebox or ash pit
- Active dripping during storms from the ceiling or inside the fireplace
- Bulging, leaning, or crumbling brick on the chimney
- Strong smoky, sooty, or musty smells that get worse after rain
- Cracks in walls or ceilings that suggest movement around the chimney
If your moisture meter keeps finding high readings, or your thermal camera keeps showing cool, wet paths near the chimney after every storm, that water is not going to stop on its own. Ongoing moisture can lead to mold, rotten framing, rusted fireboxes, and unsafe masonry.
In our area, Chimney Works handles leak investigations by looking at the full chimney system, from the cap and crown to the flashing, masonry, and interior components. We use on-roof inspections and moisture source tracing to pinpoint the problems and give clear repair recommendations so you can move from guessing to fixing.
Lock in a Dry Chimney Before the First Cold Snap
Late summer and early fall are smart times to deal with water leaking around a chimney. You have time to find problems, get professional help if needed, and finish repairs before you are counting on that fireplace for cozy evenings.
A simple action plan looks like this: use your moisture meter and thermal camera to document any damp areas, patterns, and images, keep good notes, then bring in a qualified chimney professional if you see warning signs or are unsure what your readings mean. Addressing items like flashing repairs, crown sealing, chimney caps, and masonry waterproofing before the first big cold front can make a huge difference in how your home weathers the season.
At Chimney Works, we want homeowners in the Cincinnati, Northern Kentucky, Southeast Indiana, and Dayton metro areas to feel confident, not stressed, when they see water leaking around a chimney. With a careful eye, a few simple tools, and timely professional help when needed, you can keep your chimney dry and ready for safe, comfortable use.
Protect Your Home From Costly Chimney Water Damage
If you have noticed water leaking around a chimney, our team at Chimney Works SEO can inspect the problem and provide lasting repairs before it worsens. We will assess the source of the leak, explain your options clearly, and complete the work to current safety standards. To schedule an appointment or ask questions, simply contact us and we will help you take the next step.