Stop Roof Leaks Before Summer Storms Hit
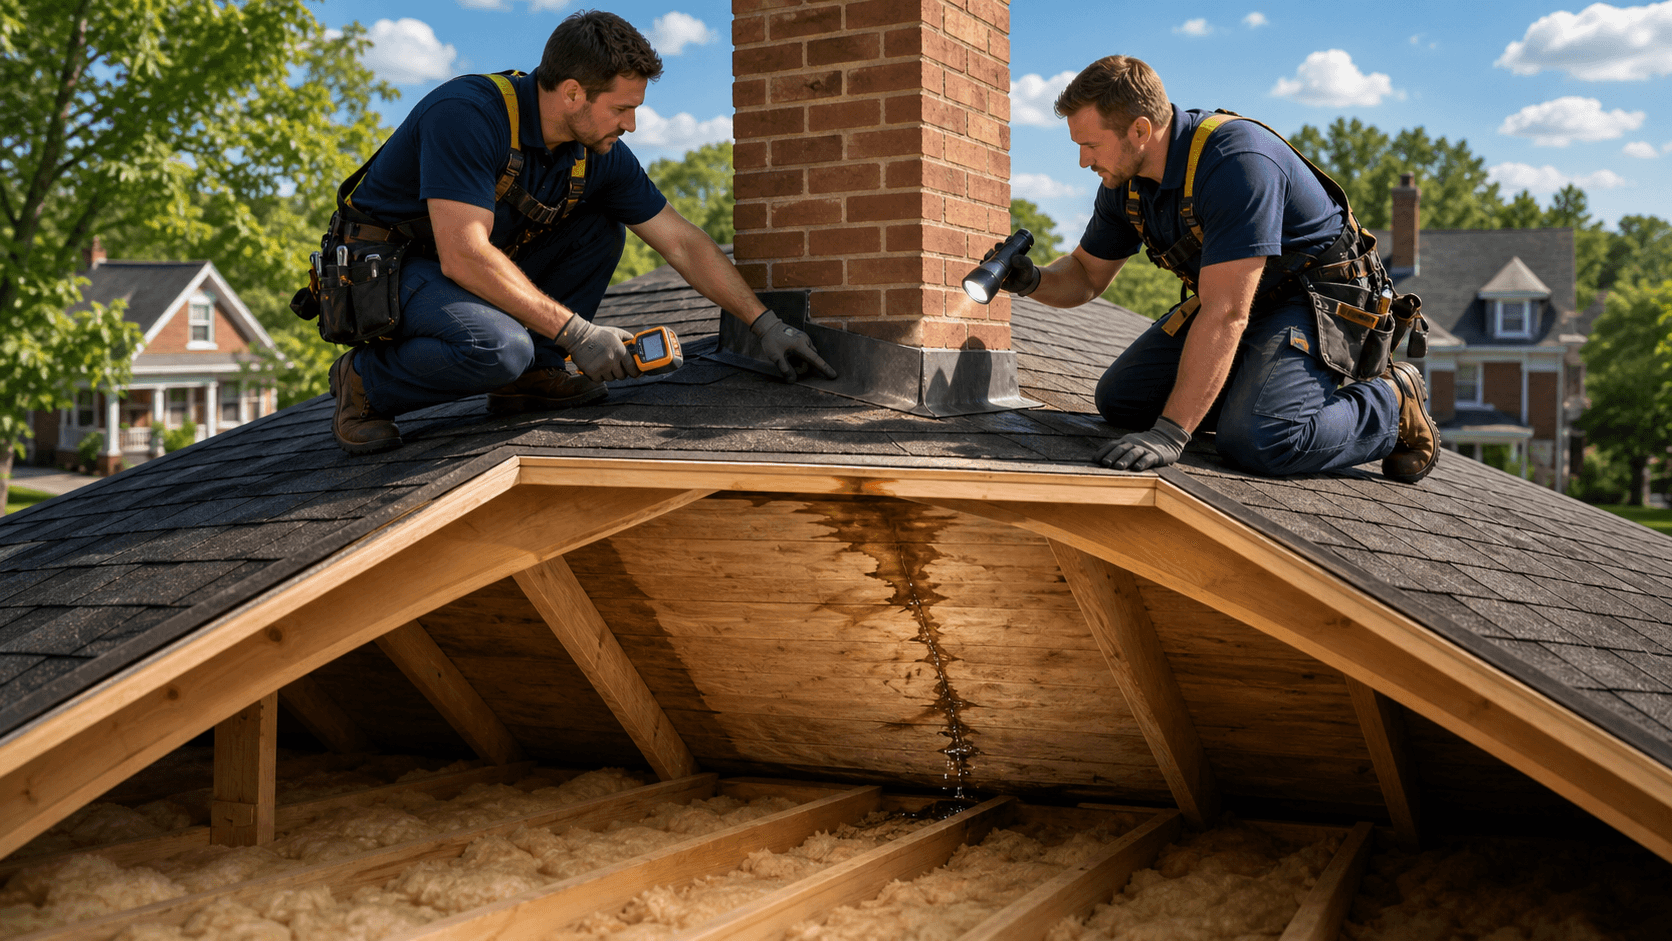
Chimney flashing repair is one of those things that usually stays out of sight and out of mind, right up until you see a brown stain on the ceiling. In the Greater Cincinnati area, late spring and summer storms bring heavy rain, wind, and thick humidity that can quickly expose weak spots around your chimney. If your flashing is already tired, those storms can push water into your roof, attic, and walls.
Flashing is the metal that seals the joint where your chimney meets your roof. Its job is simple: keep water out of that gap. When it fails, water slips in behind shingles and brick, and problems start to show inside your home. Many homeowners are not sure which type of chimney flashing repair will actually hold up in our local weather: step flashing, counterflashing, or reglet cuts.
In this article, we will explain how chimney flashing works, what each option does, and how they stand up to Cincinnati rain and freeze-thaw cycles. We will also share when a basic repair is enough and when it makes sense to upgrade to a longer-lasting system before the next big storm rolls through.
How Chimney Flashing Works to Keep Water Out
Think of chimney flashing as a layered shield. Each piece overlaps the next so water runs away from the chimney instead of into your roof. The main parts are:
- Step flashing along the sides of the chimney where it meets the shingles
- Front and back flashing at the uphill and downhill sides
- Counterflashing that covers and protects the step flashing
- Sealant in key joints and edges
Step flashing is woven in with each row of shingles. Each little metal "step" tucks under one shingle and up the side of the chimney. Counterflashing then covers the top edge of that step flashing on the chimney face so water cannot sneak behind it. When this system is installed the right way, water flows down the roof and off the house instead of into your attic.
Common failure points show up when:
- Sealant dries out, cracks, or pulls away
- Metal rusts through or corrodes
- Pieces of flashing are missing or were never installed correctly
- Flashing is too short or does not overlap enough
- The chimney has movement or settling that opens gaps
In our area, freeze-thaw cycles make all of this worse. Water works into tiny cracks, freezes, expands, and pops things open a little more each time. Over time, that leads to stained ceilings, musty smells near the fireplace, spalling brick, soft or crumbling mortar, damaged drywall, and even hidden wood rot around roof framing.
Step Flashing Basics and When It Still Makes Sense
Step flashing is the base of almost every good chimney flashing repair. These are small L-shaped pieces of metal that climb up the side of the chimney, one per shingle course. When installed properly, they:
- Tie the roof and chimney together in a neat, layered pattern
- Move water down the roof instead of letting it pool
- Work well with typical asphalt shingles
- Fit naturally into new roof installs or full roof replacements
On a brand-new roof, correctly installed step flashing is a strong starting point. It is a long-used standard in roofing, and when everything is fresh and tight, it can do its job for a long time.
But in Cincinnati weather, step flashing by itself often is not enough around a masonry chimney. Here is why:
- Wind-driven rain can push water sideways and up against the brick
- Older roofs move a bit over time, opening small gaps
- Steeper roof pitches send water rushing faster, so it can find any weakness
- Without counterflashing, the top edge of step flashing often depends on sealant alone
So while step flashing is necessary, it usually should not be the only line of defense. For long-term protection, especially around brick or block chimneys, you want to pair it with solid counterflashing.
Counterflashing and Reglet Cuts for Long-Term Protection
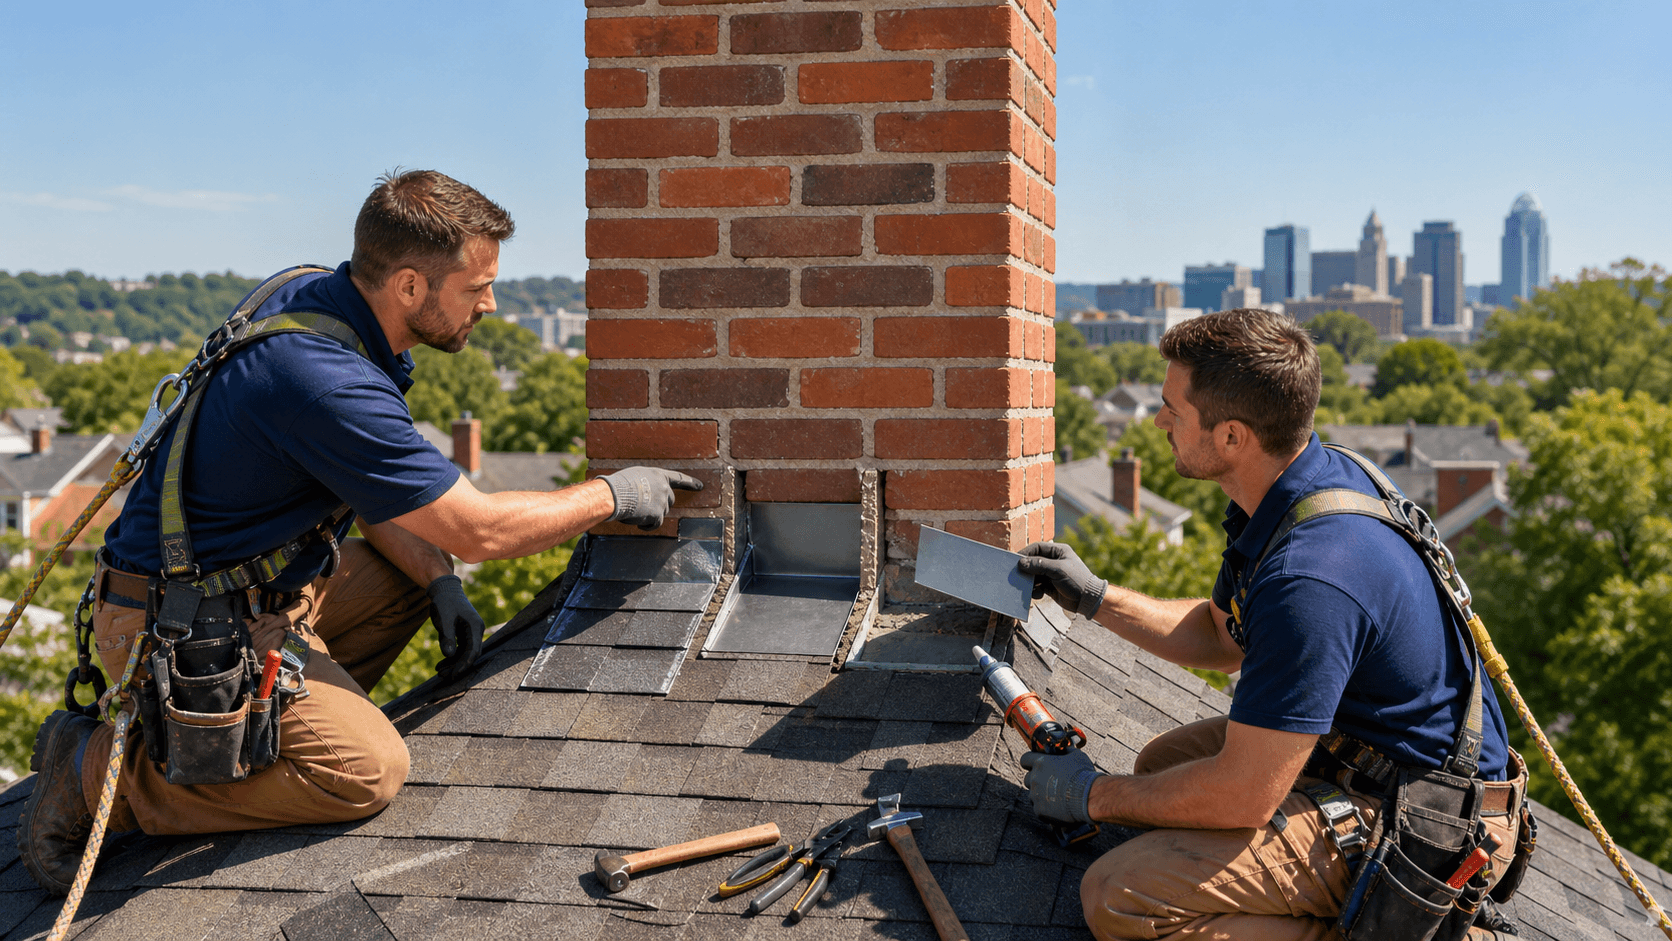
Counterflashing is the second layer that turns basic step flashing into a stronger, two-part water barrier. This metal is mounted on the chimney itself and overlaps the vertical leg of the step flashing. Water that hits the chimney face runs down the counterflashing, onto the step flashing, then onto the shingles and away. The big benefit is that the system is not relying on caulk at the top of the step flashing to stay watertight.
There are two main ways counterflashing gets attached to the chimney:
- Surface-mounted, where the metal is fastened to the outside of the brick or masonry and sealed along the top
- Reglet cuts, where a groove is cut into a mortar joint and the counterflashing is locked into that groove
Reglet cuts are often the more durable option in our wet, freeze-thaw-prone climate. With a reglet cut, a shallow groove is ground into the mortar joint, the counterflashing is inserted into that groove, then it is secured and sealed. This creates a mechanical lock, not just a surface attachment.
Compared to surface-mounted flashing or sealant-only "patch" jobs, a well-installed counterflashing with reglet cuts usually:
- Holds up better when mortar moves slightly
- Stays in place longer when exposed to wind and temperature swings
- Keeps the joint tighter as sealant ages
- Resists peeling away from the chimney surface
In Cincinnati's mix of rain, humidity, and freezing winters, that extra mechanical lock can make a big difference in how long your chimney flashing lasts before it needs attention again.
Choosing the Right Chimney Flashing Repair for Your Home
Not every home needs the same level of work. The right chimney flashing repair depends on your roof, your chimney, and how long you plan to stay in the house. A few common situations come up again and again.
During a roof replacement, it often makes sense to:
- Replace old step flashing instead of reusing it
- Add or upgrade counterflashing while everything is exposed
- Address any damaged bricks, crowns, or mortar at the same time
For a targeted chimney flashing repair on a roof that is still in good shape, a pro might:
- Keep the existing shingles if they are sound
- Replace failing step flashing along the chimney
- Add new counterflashing, ideally in reglet cuts, for a longer-lasting fix
If you are dealing with chronic leaks around an older masonry chimney, the smarter move may be a more complete approach. That can include:
- New step flashing integrated with the roof
- New counterflashing with reglet cuts
- Masonry repairs where brick or mortar has been damaged by years of water
When is a quick sealant repair acceptable? Usually only when:
- The flashing is mostly sound and just has small gaps
- The roof and chimney are near the end of their life, and you want to buy a bit of time
- You understand it is a temporary patch, not a long-term solution
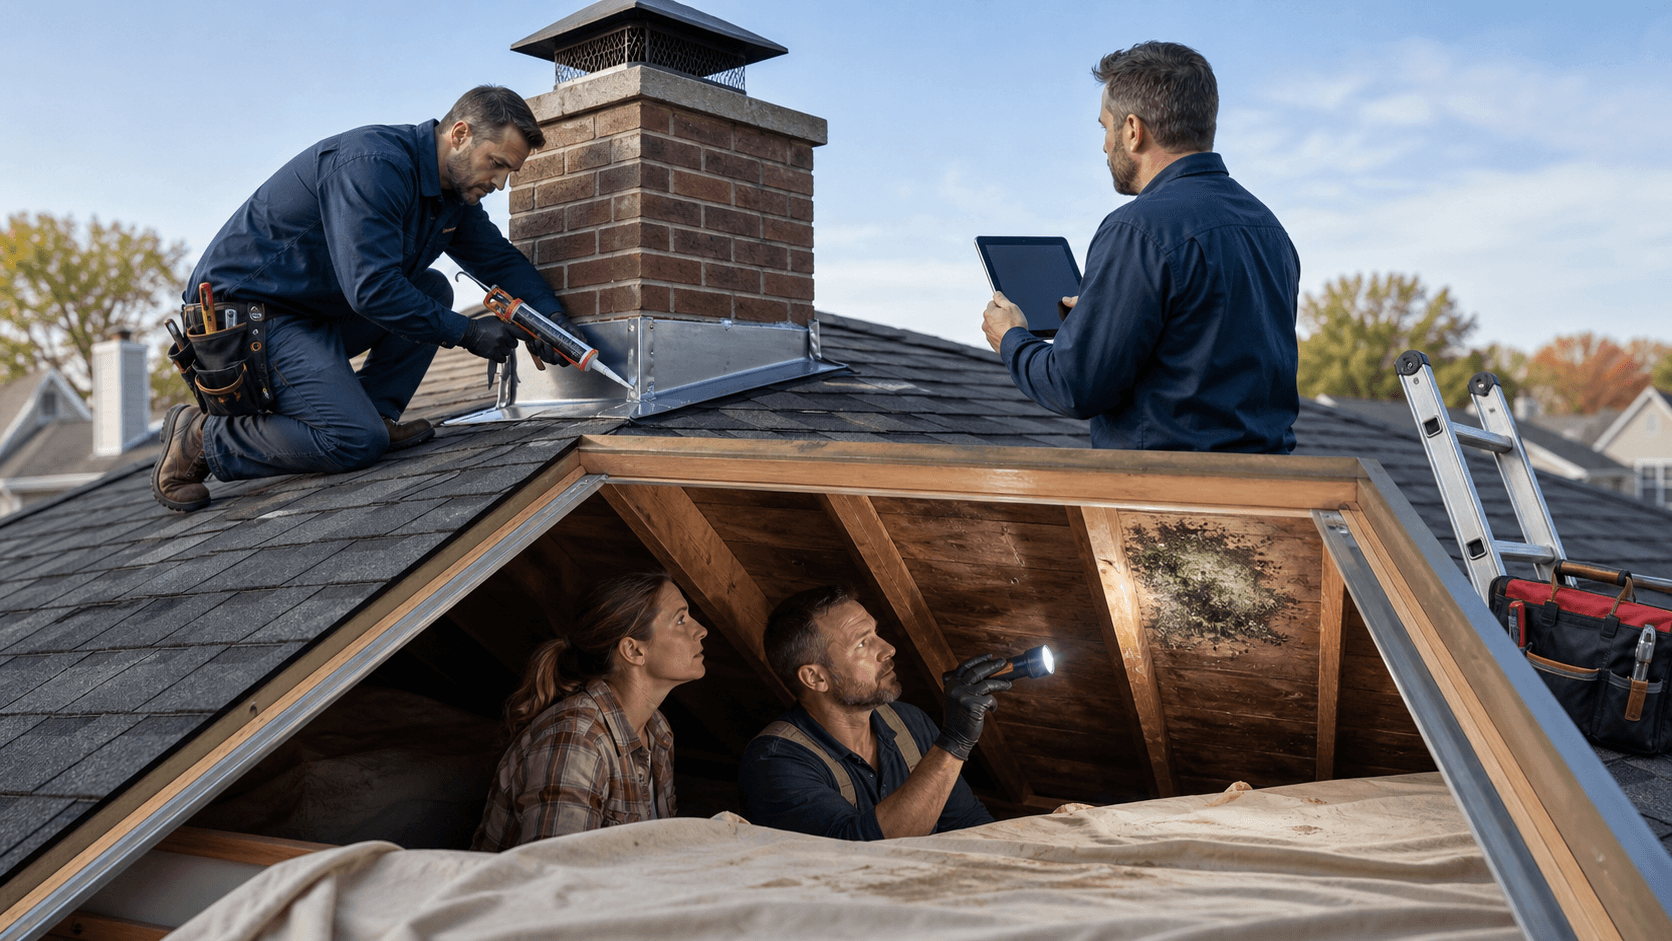
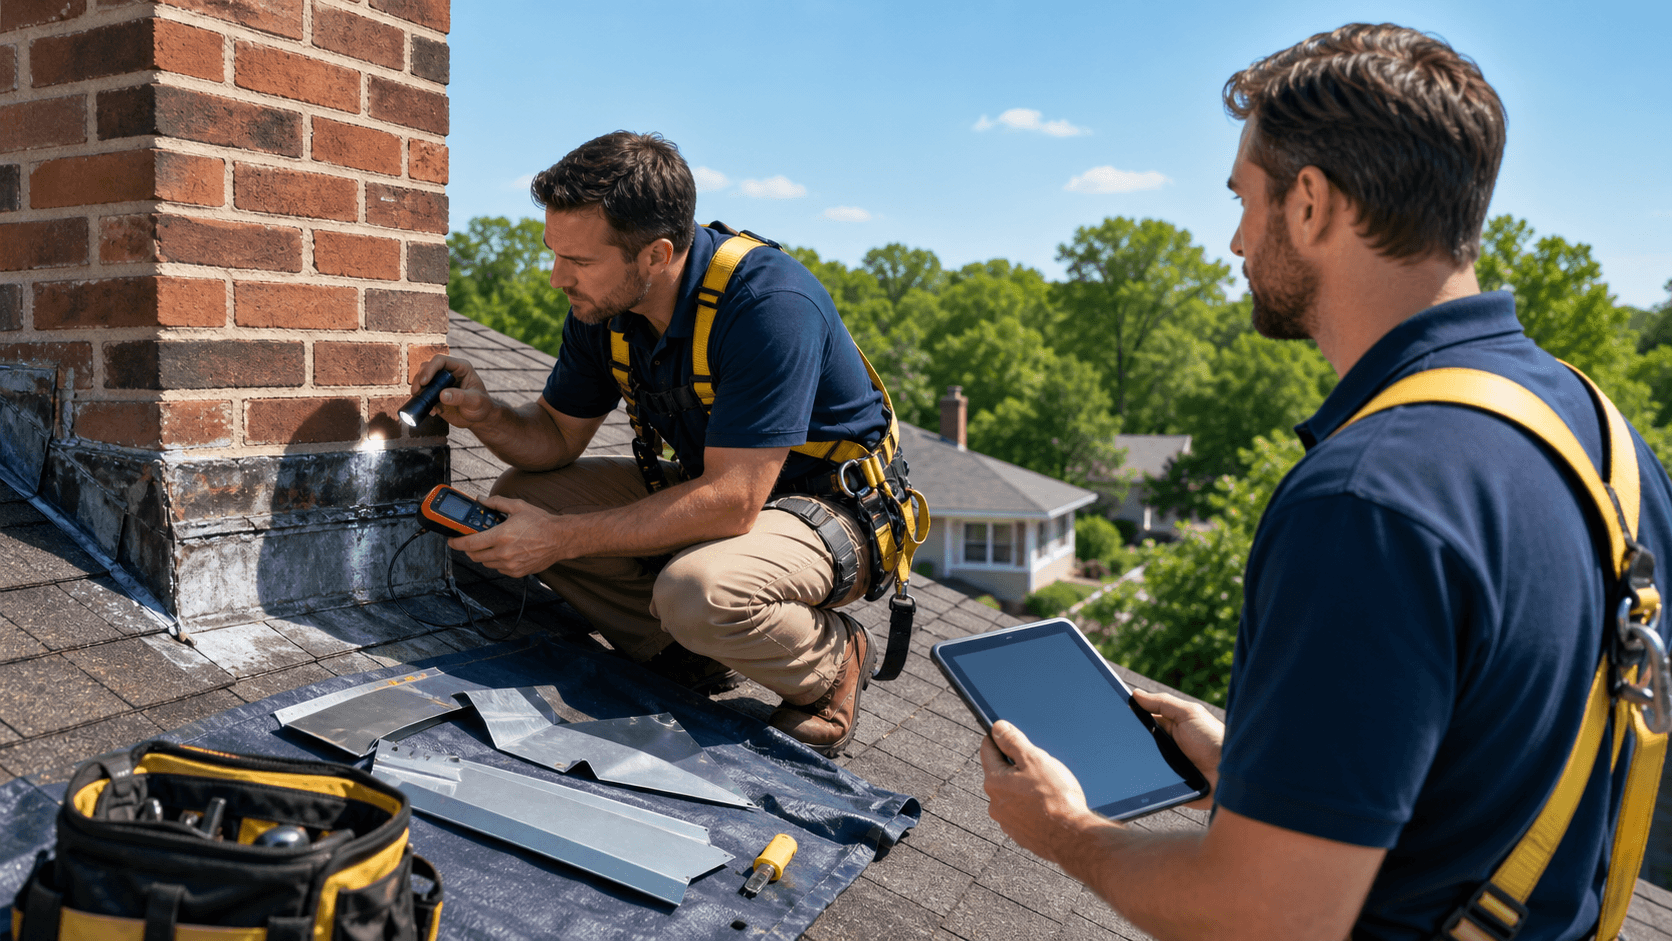
A professional inspection is the best way to sort all this out. A qualified chimney and roofing specialist can look at roof age, chimney condition, and local weather patterns, then recommend the right materials, such as galvanized steel, stainless steel, or copper, for your situation.
When to Call Chimney Works Before the Next Big Storm
In the Cincinnati area, late May and early summer are a smart time to get chimney flashing checked. The worst of winter is past, the roof is usually dry enough to work on, and the heavy thunderstorm pattern is just getting started. Catching issues now can prevent leaks that show up right in the middle of a long stretch of rain and high humidity.
At Chimney Works, we handle chimney flashing repair with a careful eye on both your roof and your masonry. Our team serves Greater Cincinnati, Northern Kentucky, Southeast Indiana, and the Dayton Metro area. We inspect the flashing, bricks, mortar, and roof tie-in, take photos of problem areas, explain how step flashing and counterflashing work together, and lay out repair options that make sense for your home and our local climate.
If your chimney flashing looks rusty, your ceiling has new stains, or you just want peace of mind before storm season settles in, this is the time to have it checked by a professional who understands how long each repair option is likely to last in our weather.
Protect Your Home With Expert Chimney Flashing Repair
If you have noticed leaks or water stains around your chimney, now is the time to schedule professional chimney flashing repair with Chimney Works. Our experienced team will inspect your system, explain what we find, and complete the work needed to keep moisture out of your home. We make the process straightforward and convenient so you can feel confident about your chimney's condition. To schedule an appointment or ask questions, just contact us today.